
March 29th - April 4th 2013
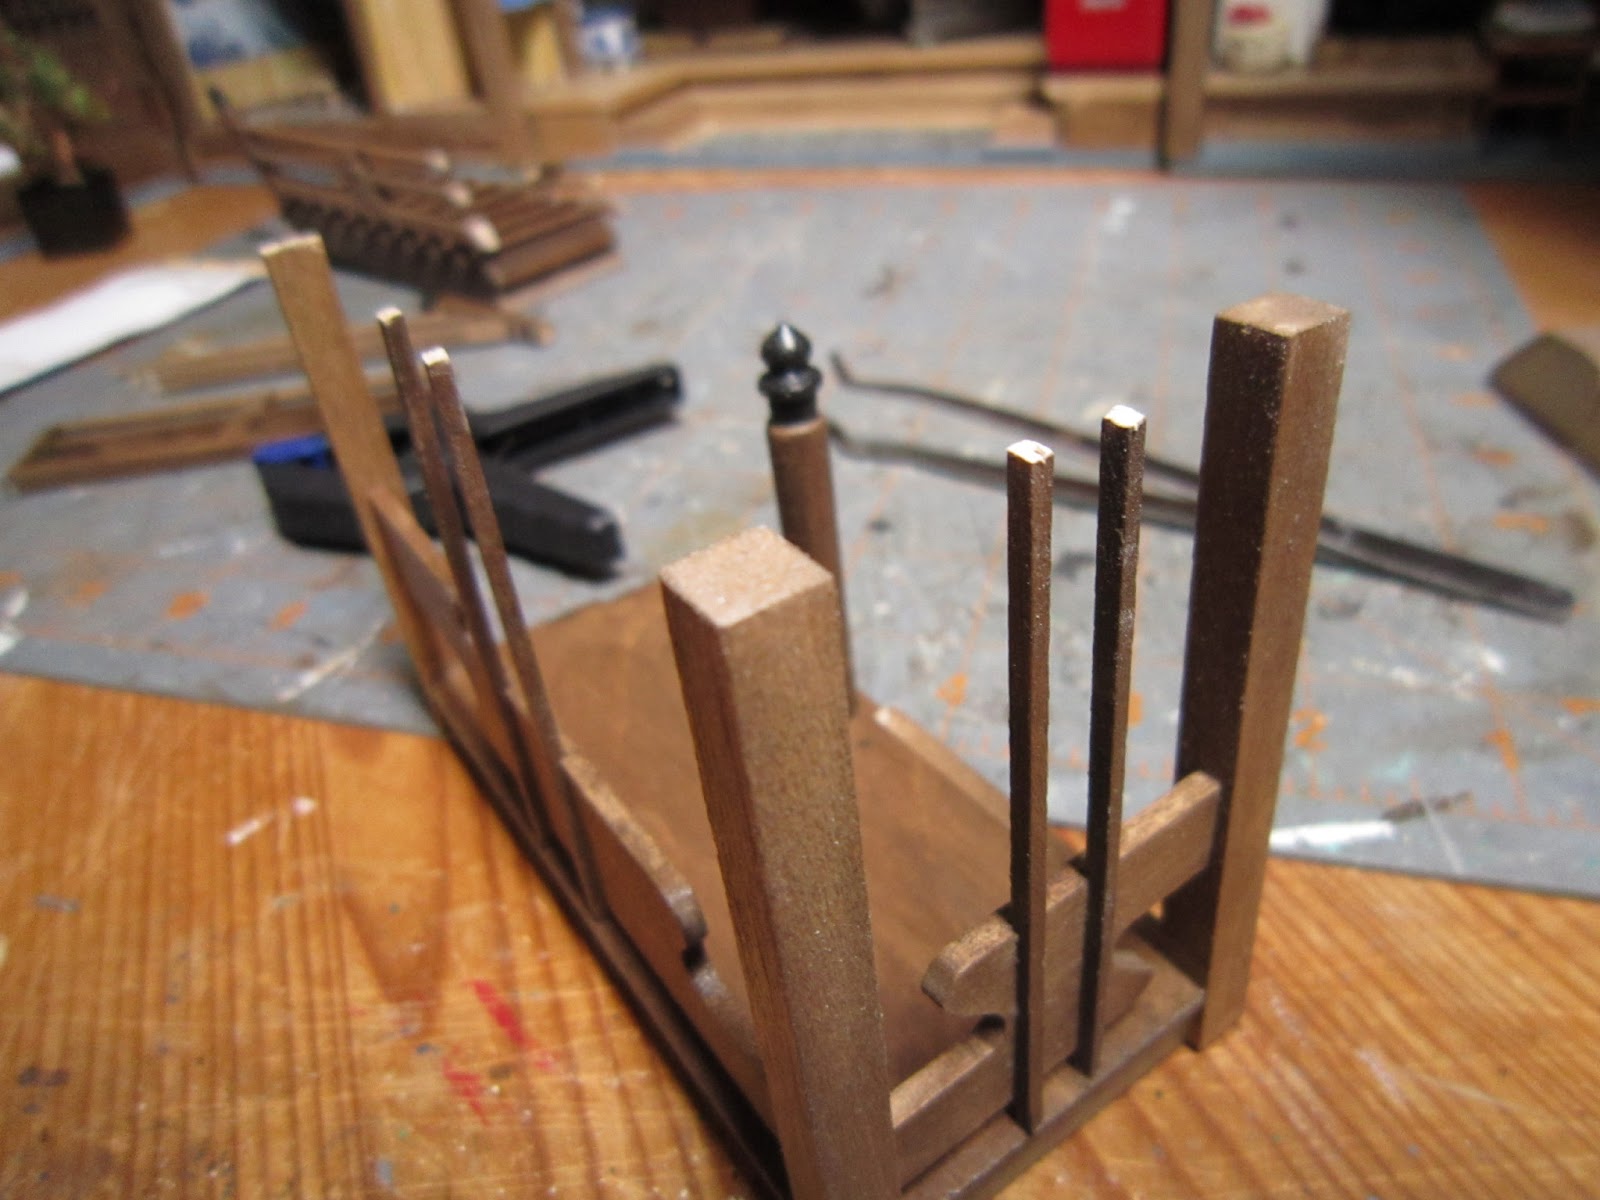
The last chapter had me putting together stairs which more or less I had to do here as well. I assembled the two stair sections (one that leads to the first floor landing) and one that will lead directly to the second floor. They went together quickly and I followed the previous procedure (assembly, painting, lumpy varnishing) as well as attaching the bannisters. This was as per the instructions which, upon actually carrying out the whole installation, makes no sense as they unattach as you work anyway. So, towards the end, I just saved the railings for last, both painting and varnishing, and then glueing.
 |
| Assembling the stairs again... |
 |
| ...and painting the stairs and railing pieces. |
Since the landing would be attached to the back wall, I had to remove both the plant and my wall hanging of the Hell Maiden. Really no big deal as I will hang it somewhere else in the house. The plant on the other hand turned into a total pain as the leaves unattached during the removal and the reinstallation. I had to refit under the landing and couldn’t effectively refill in the areas where the leaves fell off. I did as best I could and figured that part of the hallway would be pretty dark anyway. I also had to unattach and re-attach the bannister than runs around the stairwell as it was impossible to work on the plant with those in. So reglueing there as well.
 |
| First stairway section complete with railing which fell off anyway during installation. |
 |
| Hallway - had to remove the plant and the scroll. |
I had had the foresight to not glue the actual hallway ceiling since I figured I would have to make major adjustments during stair installation (also removing the above fore-mentioned plant was much easier without the ceiling). I attached the stairs easily enough as they had two areas that slotted into existing wall beams. I did have to sand down and trim a few areas on the landing since they exceeded in height the actual ceiling and the wall beams. I glued these in place and let them dry a bit. I was then able to attach the ceiling and the bannister to the first section of stairs.
 |
| Sanding down the decorative elements and back beam as they were too tall to fit under the ceiling. |
 |
| Stairs fitted and landing glued in place after test fitting. |
 |
| Using a template to sand the railing ends to fit the round posts at the top and end of the stairs. |
 |
| Final stair section to be installed later and the additional railing that goes somewhere....? |
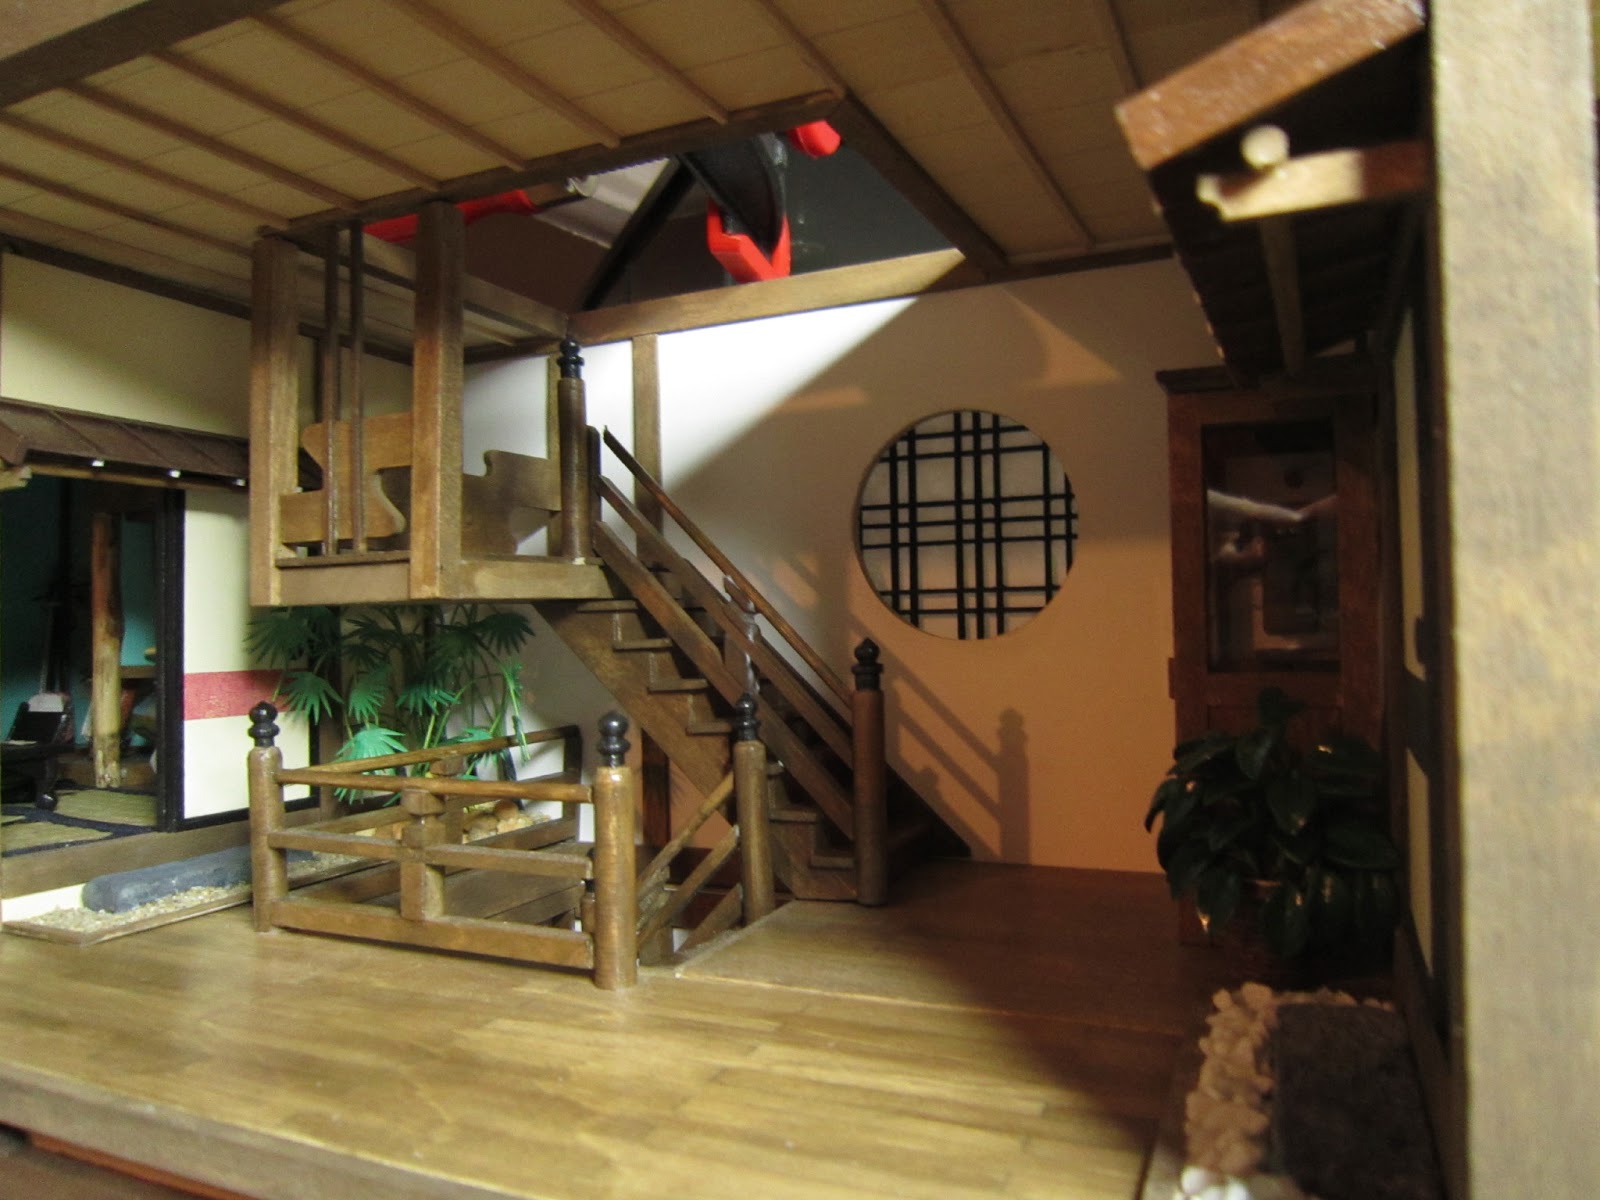 |
| Finished stair installation for this floor. Weighted down the ceiling a bit to close the slight gap. |
The last section of stairs and the small railing will be installed much later I suppose when I’ve actually built the second floor hallway. That’s that!
Hello Peggy,
ReplyDeleteTerrific work! the staircase is looking great and I love the finish on it.
Big hug,
Giac
thanks very much! I am quite pleased with the final result. This is my first dollhouse and kit and I am experimenting quite a bit with finishes too. I feel there is so much to learn and it's very satisfying!
Delete