 |
| Inspiration for the Kotatsu Table |
January 29th - February 24th 2014
I had seen on the internet a table / heating set up which, if research is accurate, is pretty common and still used in Japan. It is a kotatsu table. This table has some kind of heating element attached to the underside. A comforter is placed on the floor, then the table, then another heavier comforter is placed over the table creating a kind of tent for the lower extremities. Then, another table is placed on top of that comforter. In theory, the heating of the lower extremities would radiate upwards through the clothing keeping the table occupants fairly warm. Today where most people no longer wear robes or kimonos at the table, I am not so sure about the efficiency of the heating system but surely it is a wonderful way to sit around a table with friends and enjoy the comfort of communal heating. From what I understand, originally it was heated from a small clay pot in the floor of the room which was then covered by another and managed to effectively heat the room or at least under the table. I did come across a
version of this which I am going to try altho I wonder what kind of gasses will fill up a room with this method. In any case, I really liked the look of the table and decided to make one for the red Buddha room.
 |
| The electric heater for under the table |
My original idea for the heater was to make one out of some extra parts but I really had nothing that could suffice for the grill work on the electric heater. So, I opted for making a printie. I mean in the end, it’s not like the underside of the table is going to be visible. So I found a nice closeup of a heater. I then cropped it a bit and reworked it and made a tiny printie to fit under the table. The sides are black and the grill work repeats on one side so I had to find a small piece of cardboard to act as a backing and to be able to fold the sides over onto it. It’s pretty small but it’s still pretty effective. I just used double sided tape and a drop of glue to attach it to the table.
 |
| Using the above pic, I created a printie for under the table. |
 |
| Folded, then glued to a small piece of cardboard. |
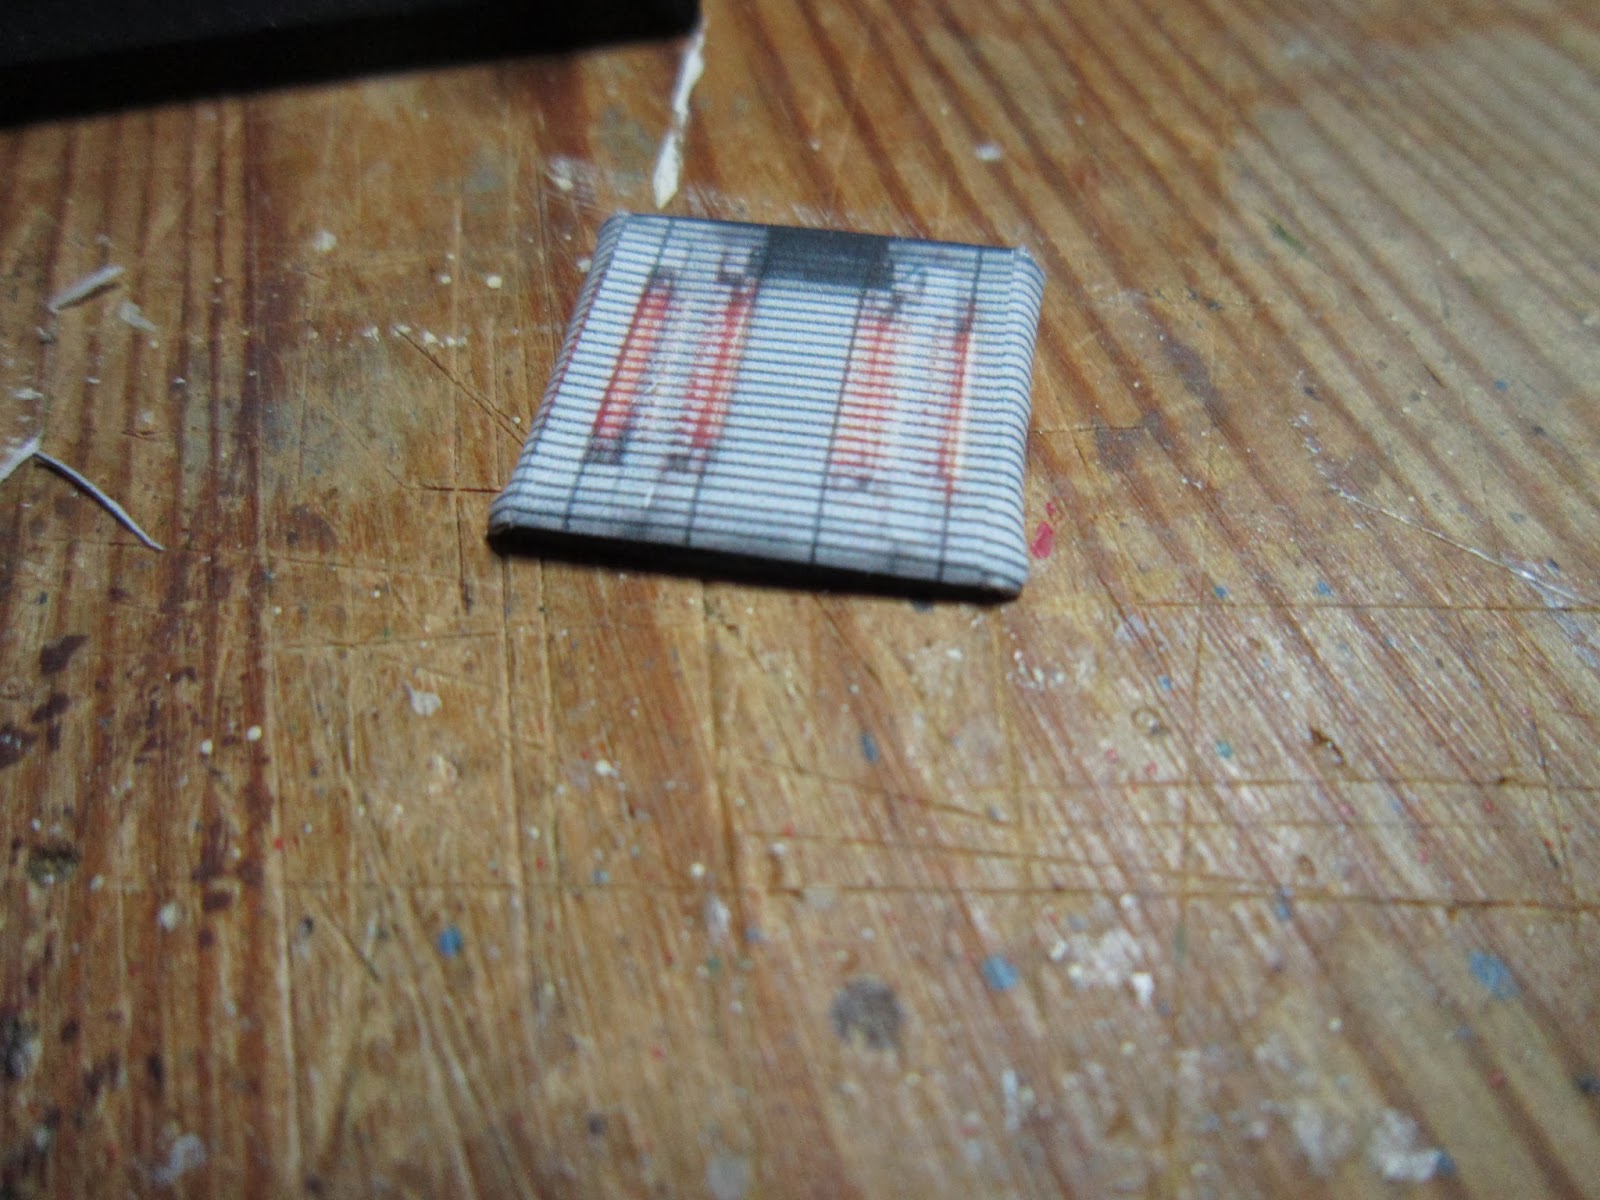 |
| Ready to attach to the table. |
 |
| The underside of the table now with its heater. I didn't bother with an electric chord. |
The next part was working on the comforters. Obviously I was going to have to sew this one. The other ones are pretty much hidden or laying over the bed but this one has to have somewhat weighted sides. When I found pictures, most all of them had some kind of quilted look filling around the outer edge. So, after choosing my fabric, I needed to make the bottom comforter first. This one really didn’t need any stitching as it was just going to lay on the floor. I had some nice leftover material that would be heavy enough to sit flat on the floor without using too much glue or tape or whatever. The fabric was pretty tightly woven so it did pose a few challenges in that I ended up having to hand sew an edge after turning it right side out. No biggie.
The big problem was the actual comforter and the material. This is very light weight cotton fabric and had a tendency to snag during sewing. I also had to come up with a way to simulate the stuffing and give the look of draping to the comforter. In my other comforter, it just lays across the futon and I used fine grains of sand to weigh the edges. Here it just wasn’t really an option so, after some net research, I did find a few tutorials that suggested using tin foil inside the comforter. I couldn’t figure out the best method in attaching the foil and the little bit of batting until, many days later, I stumbled across someone who suggested using a glue stick and sticking the foil on the wrong side of the fabric. Genius. It was just the thing i needed to release me from my sewer’s block. (I had been thinking hard about this for well over two weeks plus I got ill in between so I kept putting this off for well over 10 days.) Anyway, once I figured a way to hold the foil inside while turning it right side out, the trick was done. I was so relieved! Honestly I used to sew a lot (for myself and others - even making bridal dresses) and like all my hobbies, I overdosed on it and can’t stand sewing anymore. So, I was glad this was DONE!
 |
| Working with the fine cotton fabric. Applying glue stick on the wrong side. |
|
 |
| Sewing the foil onto the wrong side of the fabric. |
 |
| Final sewing phase. Adding some internal stitching to make the comforter show more quilting. |
 |
| The foil inside the cover allows you to form any shape. Then you can just smooth it out again. |
Once the comforter was done I could turn my attention back to the table. Underneath had the printie heater so I just needed to cut the top table. I used a piece of balsa wood that I had on hand, then printed out some wood grain laminate looking stuff. I wanted it to be similar to an old formica fake wood table top. I glued that onto the balsa wood after trimming the sides with some dark brown paint. Once the glue was set, I could actually attach the tables together. I used double sided tape on the bottom table, fixed it onto the comforter (centering it as much as possible), then using more double sided tape I attached the table top. I then placed the chairs and could form the comforter with the tinfoil on the inside fairly easily. Last step was to put a few things on the table for the “foto shoot”.
 |
| Finished top table with printed wood grain on glossy paper. |
 |
| Double sided tape on this table and the underside of the top table to fix in place. |
 |
| Finished kotatsu! |
I think it came out pretty successful! Food looks yummy too. I’m hungry.
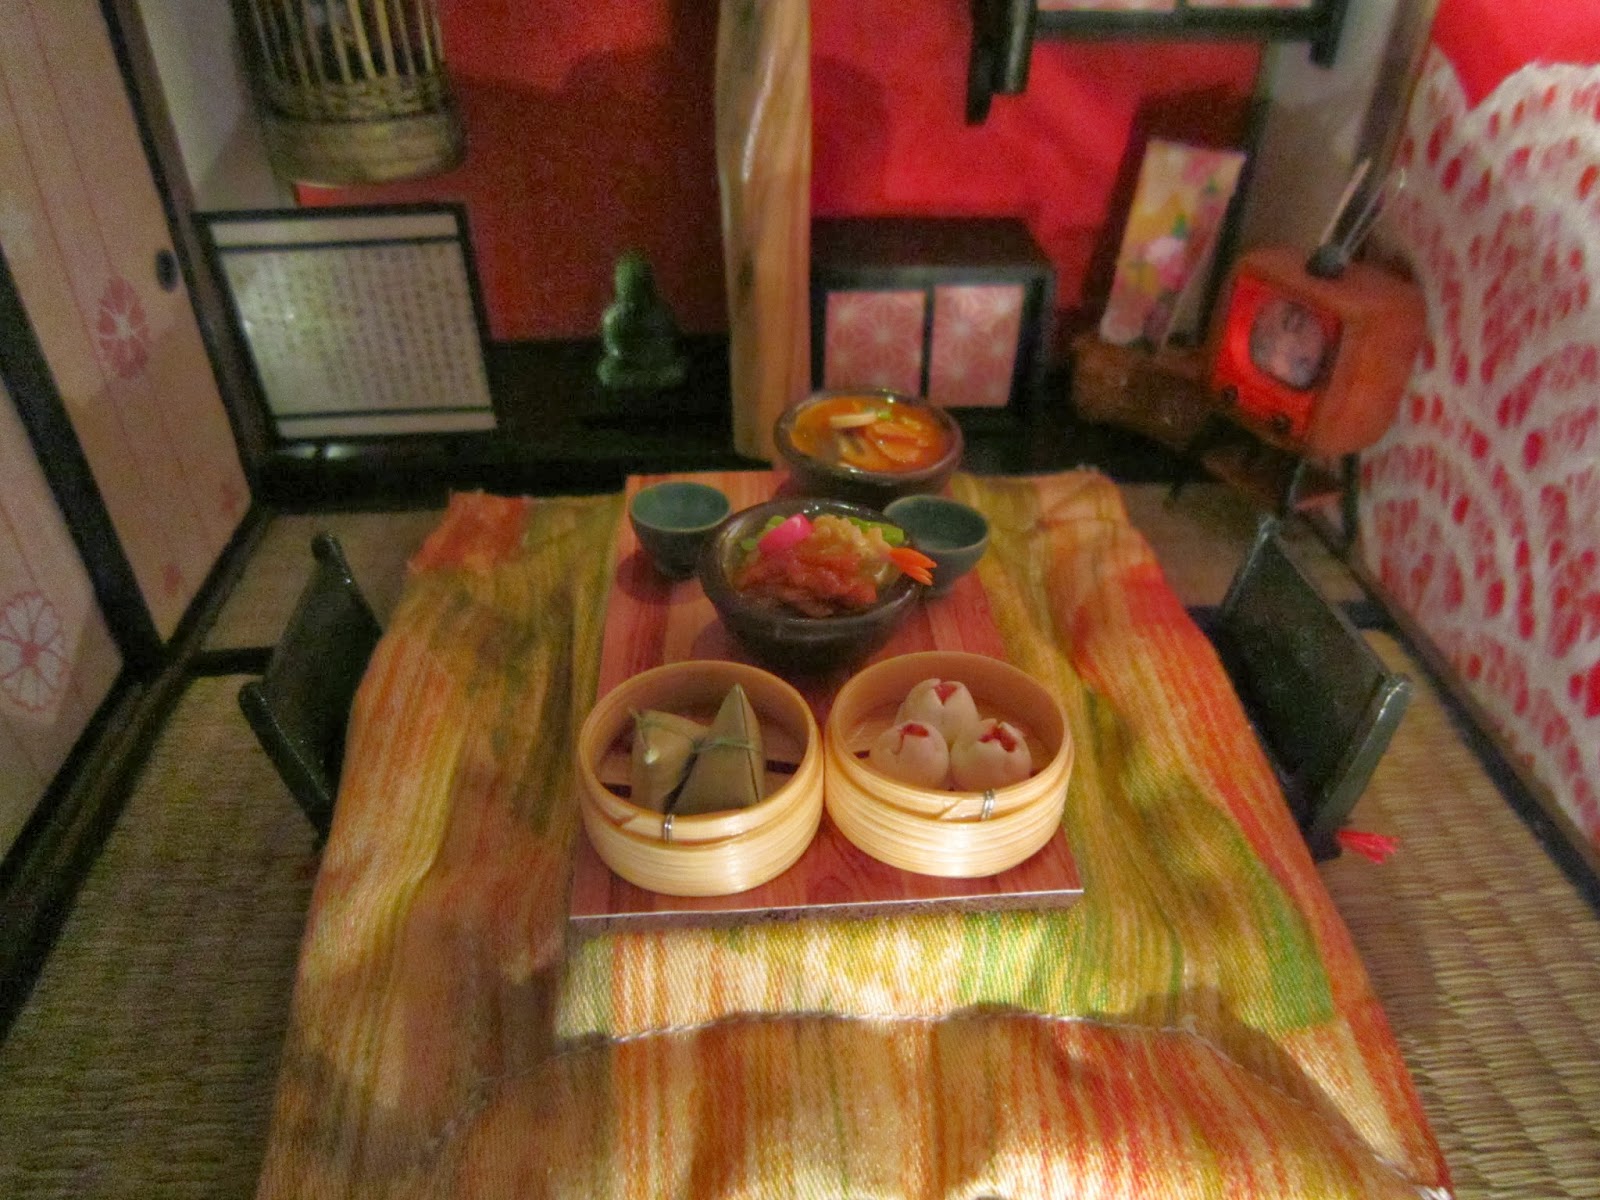 |
| Some yummy ramen and dumplings for dinner! |
No comments:
Post a Comment