August 12th - 16th 2014
This chapter had a few more chairs to add to the house and a tansu chest. These chests are pretty common and quite nice. There are lots of different kinds but the step chest is quite pretty and I was looking forward to making it as I have lots of interesting articles to position on it. But before I did that, I decided to put the chairs together and to make a bunch of floor cushions.
These chairs have been made numerous times so I won’t go thru the process again but I decided this time to actually upholster them instead of making a cushion to place on top. I really liked the effect of the leather chairs so I made some fixed cushions on these chairs using more of my Japanese cotton fabric. When I was looking for the leather seat cushions I noticed that a lot of these folding type chairs have a fixed cushion so, that’s what I did.
 |
| Making the padding seat from card stock and foam. |
 |
| Adding the fabric and gluing and taping in place. |
 |
| Finished low chairs with fixed seat cusions. |
Next was cutting up some fabric to make around 8-10 floor cushions that will be thrown around the fire pit room. I already had a sort of
tutorial on how to make these cushions so I won’t go thru it again here. Suffice to say it took a little while as there were lots of small angles and lots of double sided sticky tape.... But I ended up finding a rhythm and completed all of them in around an hour one afternoon. I then made a few with a french knot in the middle and then stacked them and placed them in their appropriate room. Lots of cushions now for our guests in the fire pit room.
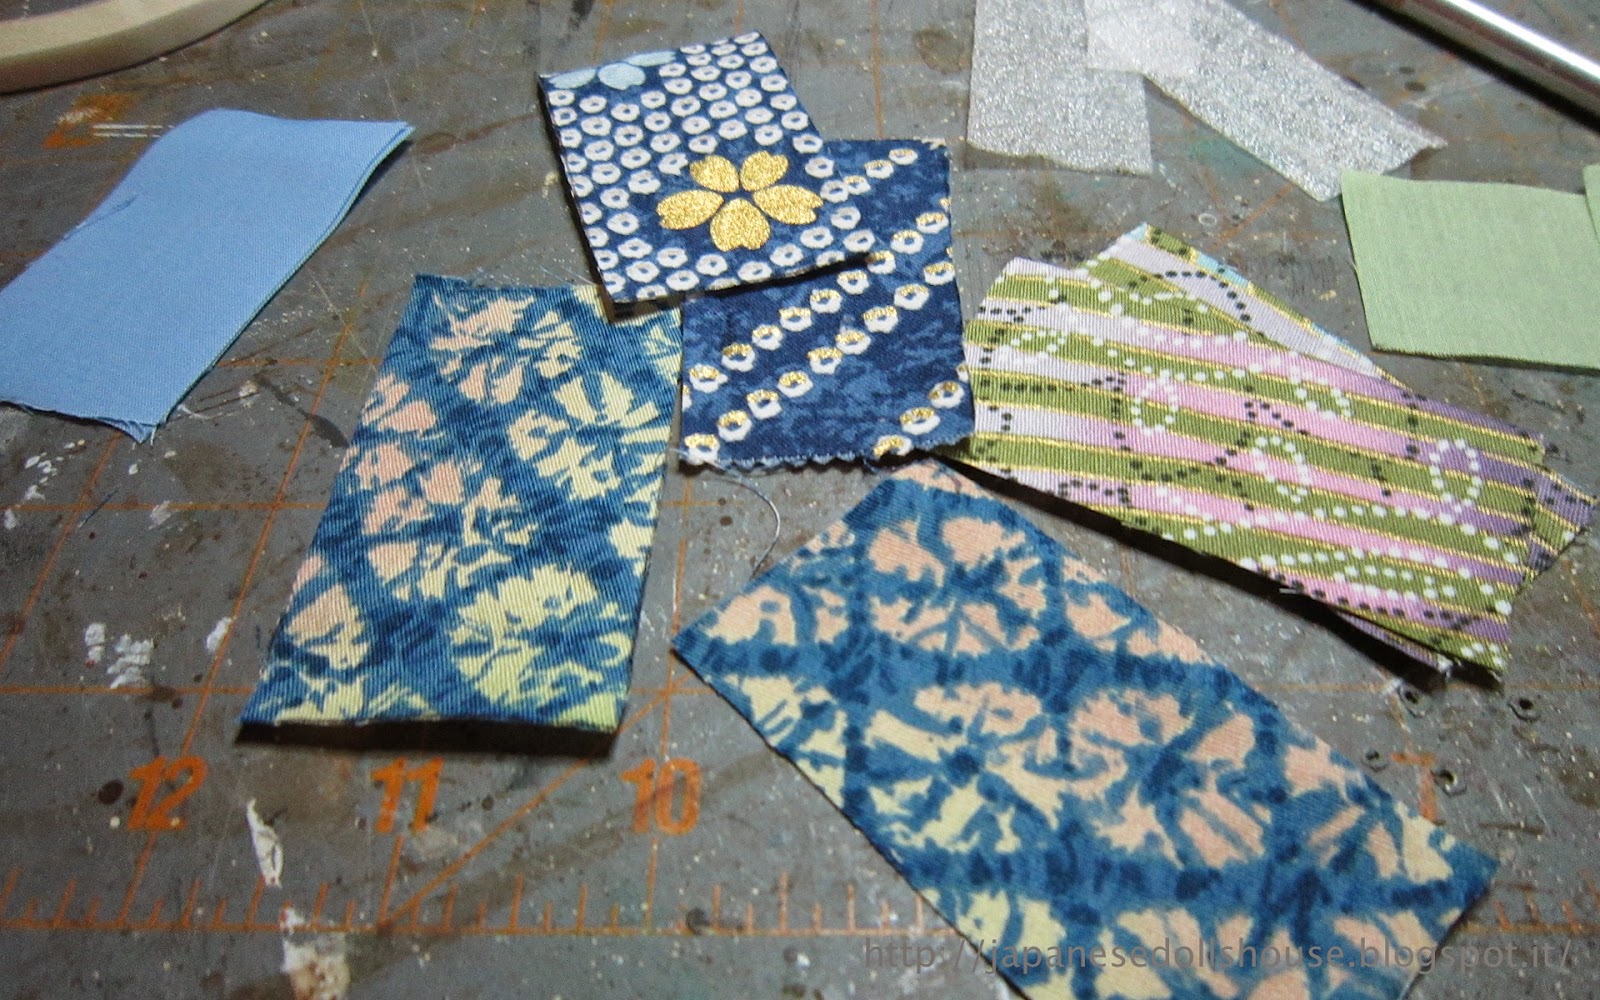 |
| Cutting up various fabric pieces to make the cushions. |
 |
| Stacked cushions in place. |
I then worked on making my roasting fish skewers. Added them to the irori pit and placed the pit in the middle of the room. Since I have no more rooms to add, I also decided to pull out lots of little objects and place them in different areas. I made some little umbrellas outside the front door and just added general things to give some nice detail to the house. I placed the little tumblers and such on the appropriate trays and added some more food stuff and even made some rice for my bowls. My first attempt using Fimo. It was fun adding stuff to the rooms now that I can! I even added some beer labels to the bottles (altho one is actually for matches - just I really liked the tiger!)
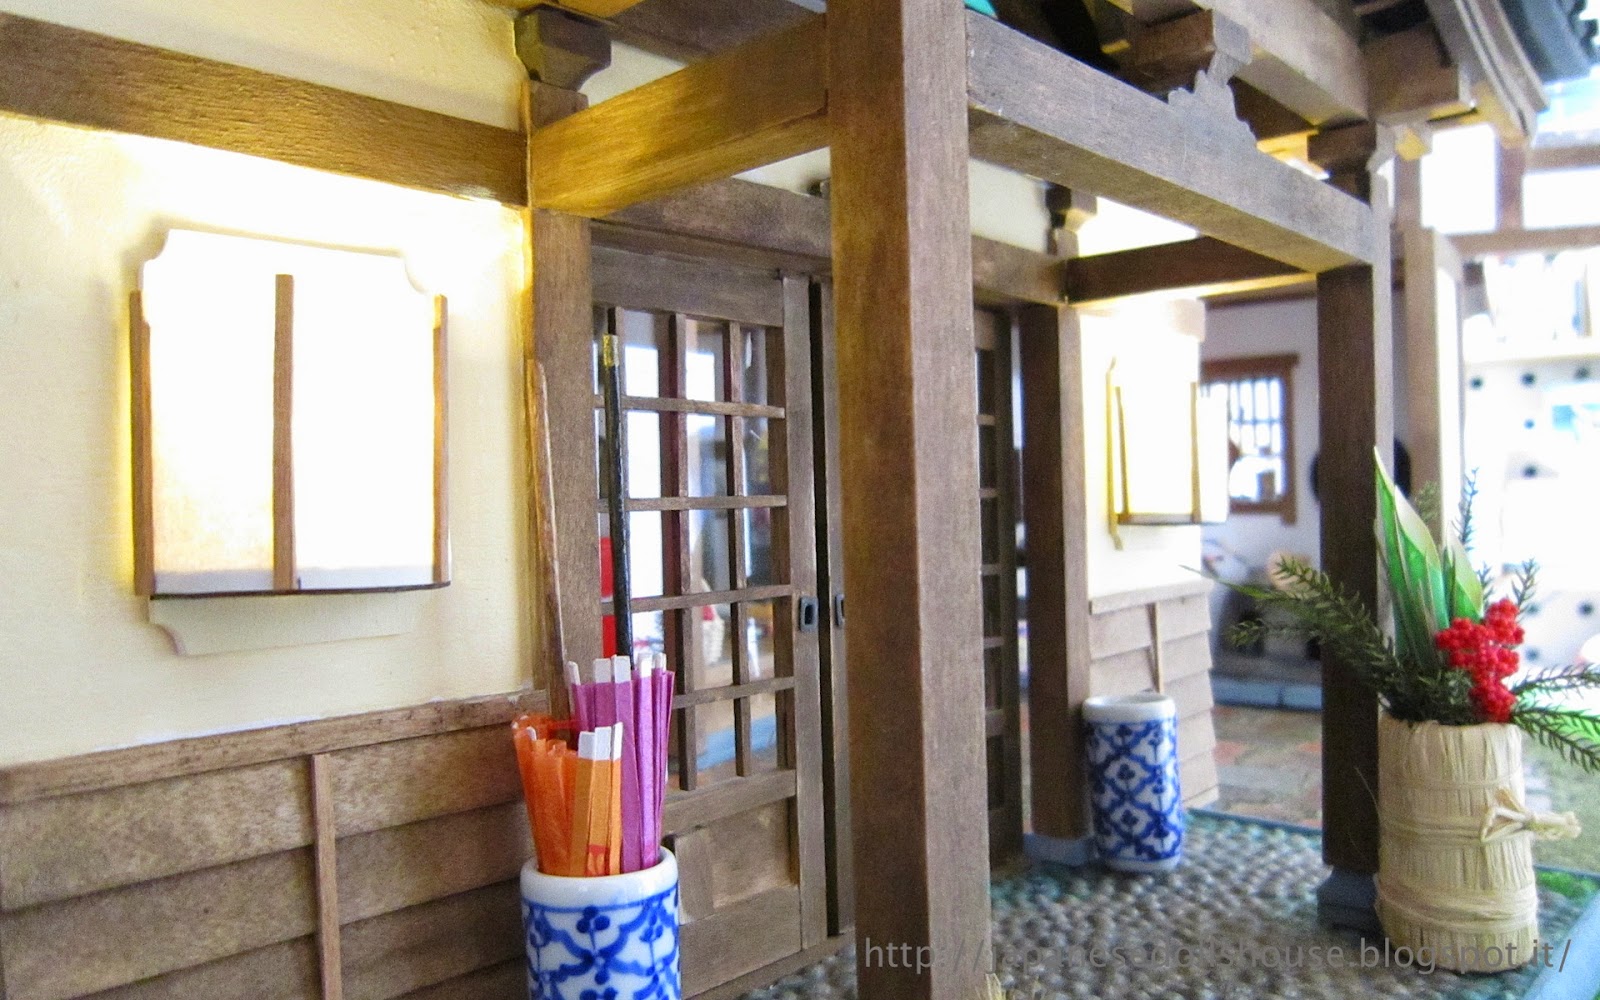 |
| Adding some umbrellas outside the front portico. |
 |
| Making some Fimo rice using an extracter and a razor blade. |
 |
| Filled rice bowls (hardened in oven) |
 |
| Making cardstock legs for two small food tables (zen) |
 |
| Gluing the table legs in place. |
 |
| Adding food stuff to the dish. Salmon ready to skewer and roast. |
 |
| Some quick beer labels. |
 |
| Firepit with food stuff and roasting fish. |
Next up were the bamboo shades. Course I was convinced I remembered how to do them and of course, I really didn’t. I had a very tough time getting the tiny triangular beads onto the DMC thread. Then once I did, I realized I had forgotten to pass back through to the right side so that when I pull up and down on the thread, the shades roll and unroll in the right direction. Anyway, one shade is technically backwards but the others I managed to force the beads thru the bamboo slats to the back side and then glue them all in place. I then glued them into position on the windows of the second floor. Done!
 |
| Threading the DMC for the pulls. |
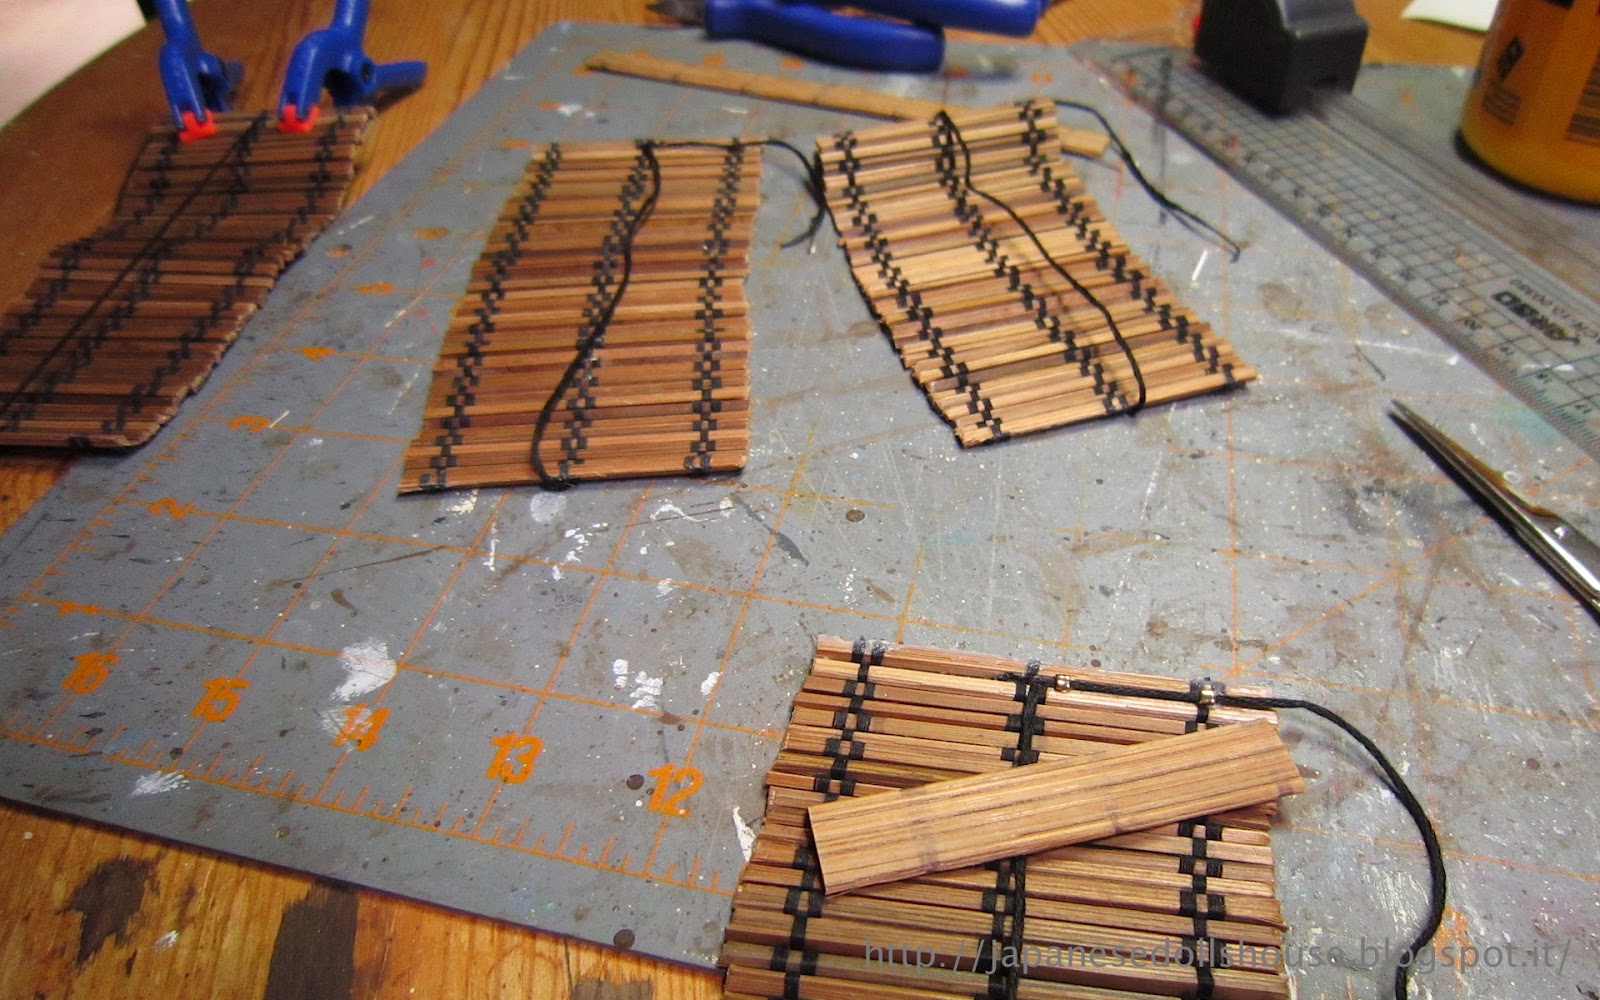 |
| Cutting the back sections to attach the shades to the house. |
 |
| Shades now attached to the house. Looking pretty good! |
The last part of this chapter’s work was the small lantern I decided to add to the spa. I just had the LED installed and positioned in the center which, after seeing how easy the little lanterns were, wasn’t really nice. So, I made one for the spa as well!
 |
| Small lantern for the spa LED. |
I’ve decided to postpone the tansu chest for now as I’d like to see how the roof is going to be attached. The next chapter has a section of roof and the final pieces of the tansu chest so I will start the chest once I've made a part of the roof. I'm just too curious to understand how it fits!
UPDATE Additional info on the Zen Table
August 18th 2014
The Zen table, tho very small, is very cute and maybe more than one of you would like to know how it was made. Obviously, you can adjust the templates to your own scale. This one is just a scan of the leg template on the page and then I adjusted to the 1/20 scale size. I think the actual leg size was about 11mm wide. I used a small leftover square of balsa wood for the table top instead of card stock but you could easily do it with a few layers of cardstock. The legs were two layers as well then cut with an exacto knife and glued into place (see above pic). The instructions are in Italian but the fotos are self explainatory. Hope this inspires you to try one! They are super cute!
 |
| Table leg template. Cut out four. |


No comments:
Post a Comment