August 20th - 21st 2014
This section had the same slots that needed sanding. So I taped a few together and sanded open as much as I could without spending too much effort on it. I figured I’d have to keep dry fitting them and preferred that the pieces slot in tightly than having to glue them all together. Let’s hope that any heat in the upstairs room doesn’t cause things to bow out of shape over the years.
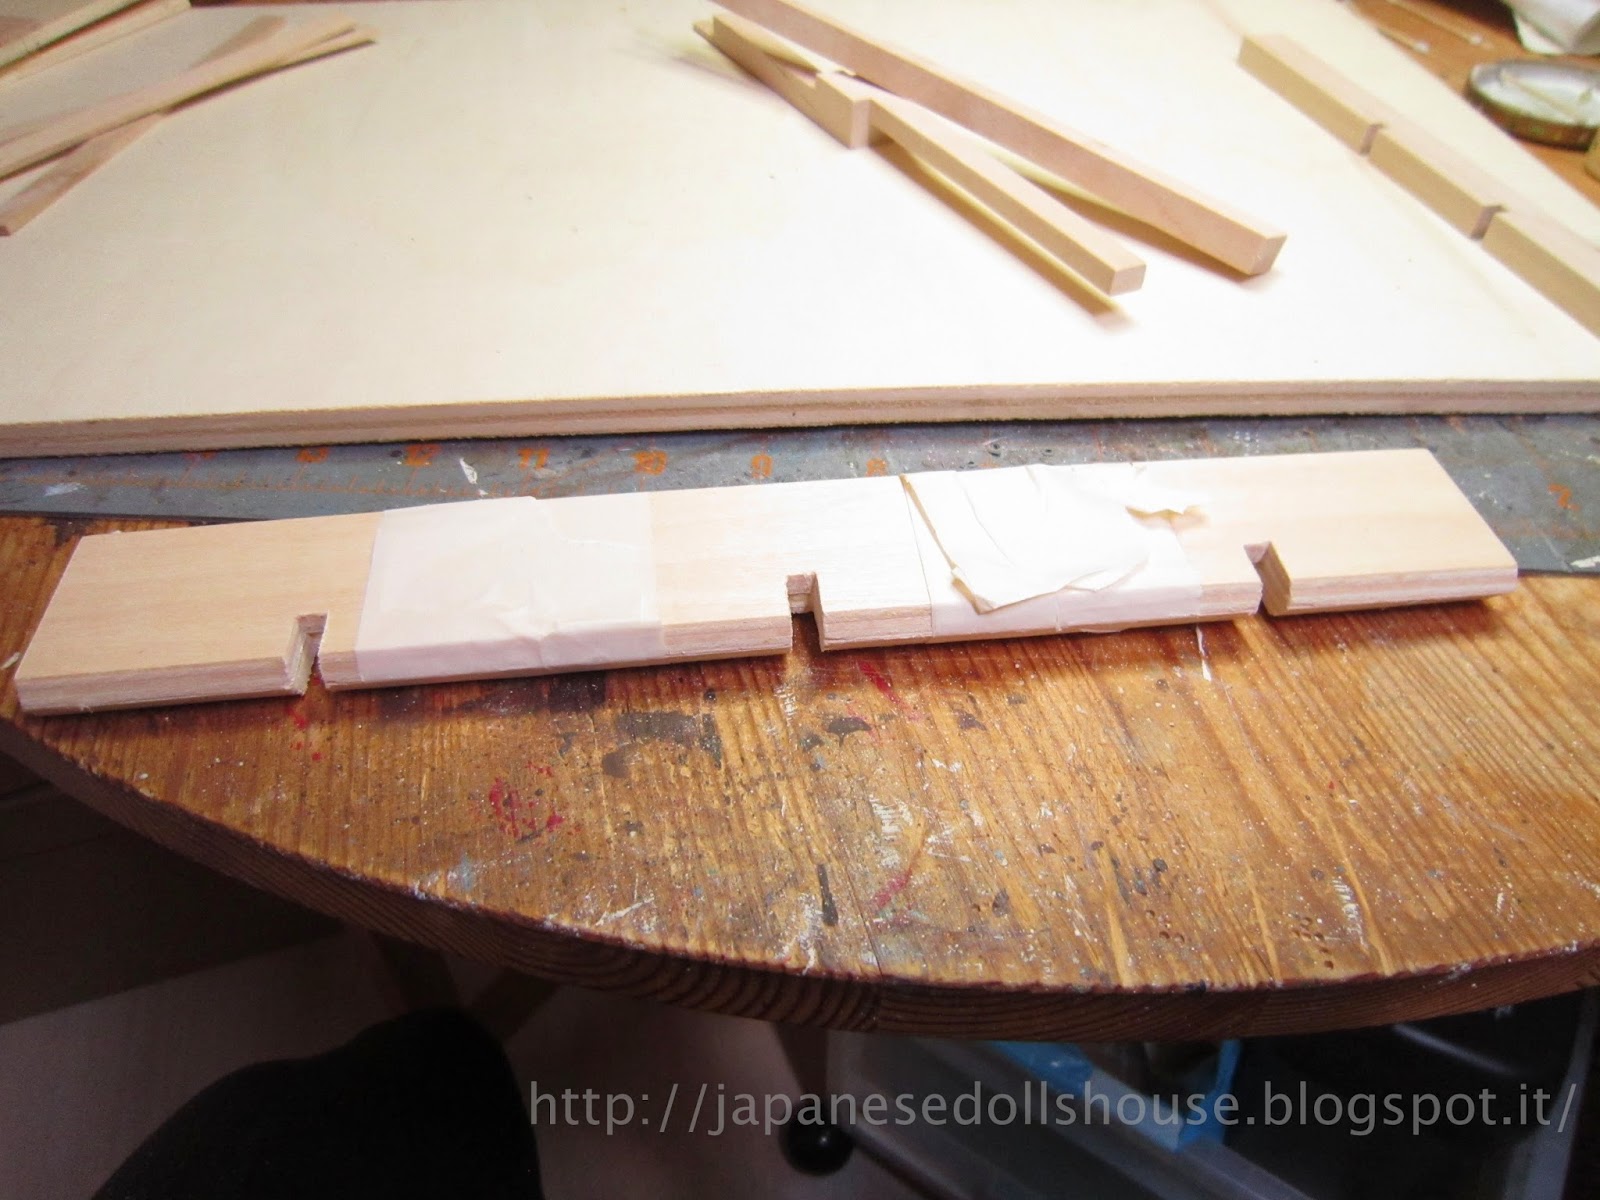 |
| Sanding open the slots. |
I had to paint to pieces (I assume front and back center) buttermilk beige and a few pieces brown like the rest of the external decorative beams. That done, I let the paint set well enough so I could work on the installation without swollen wood.
Next up was to install two support pieces that had special slotted supports that had to match up on the inside. I pulled out the left hand one and discovered it was not the right piece! But since I knew the next chapter would have me doing the same to the other side, I peeked inside the Chapter 94 blister pack and found the missing piece! They must have reversed the packaging. Thank god since I had no idea how I was going to fashion the end bit to sustain the the roof beams. So, I opened 94 and took the piece from there and switched it off the other one. Problem solved.
 |
| Switched pieces. |
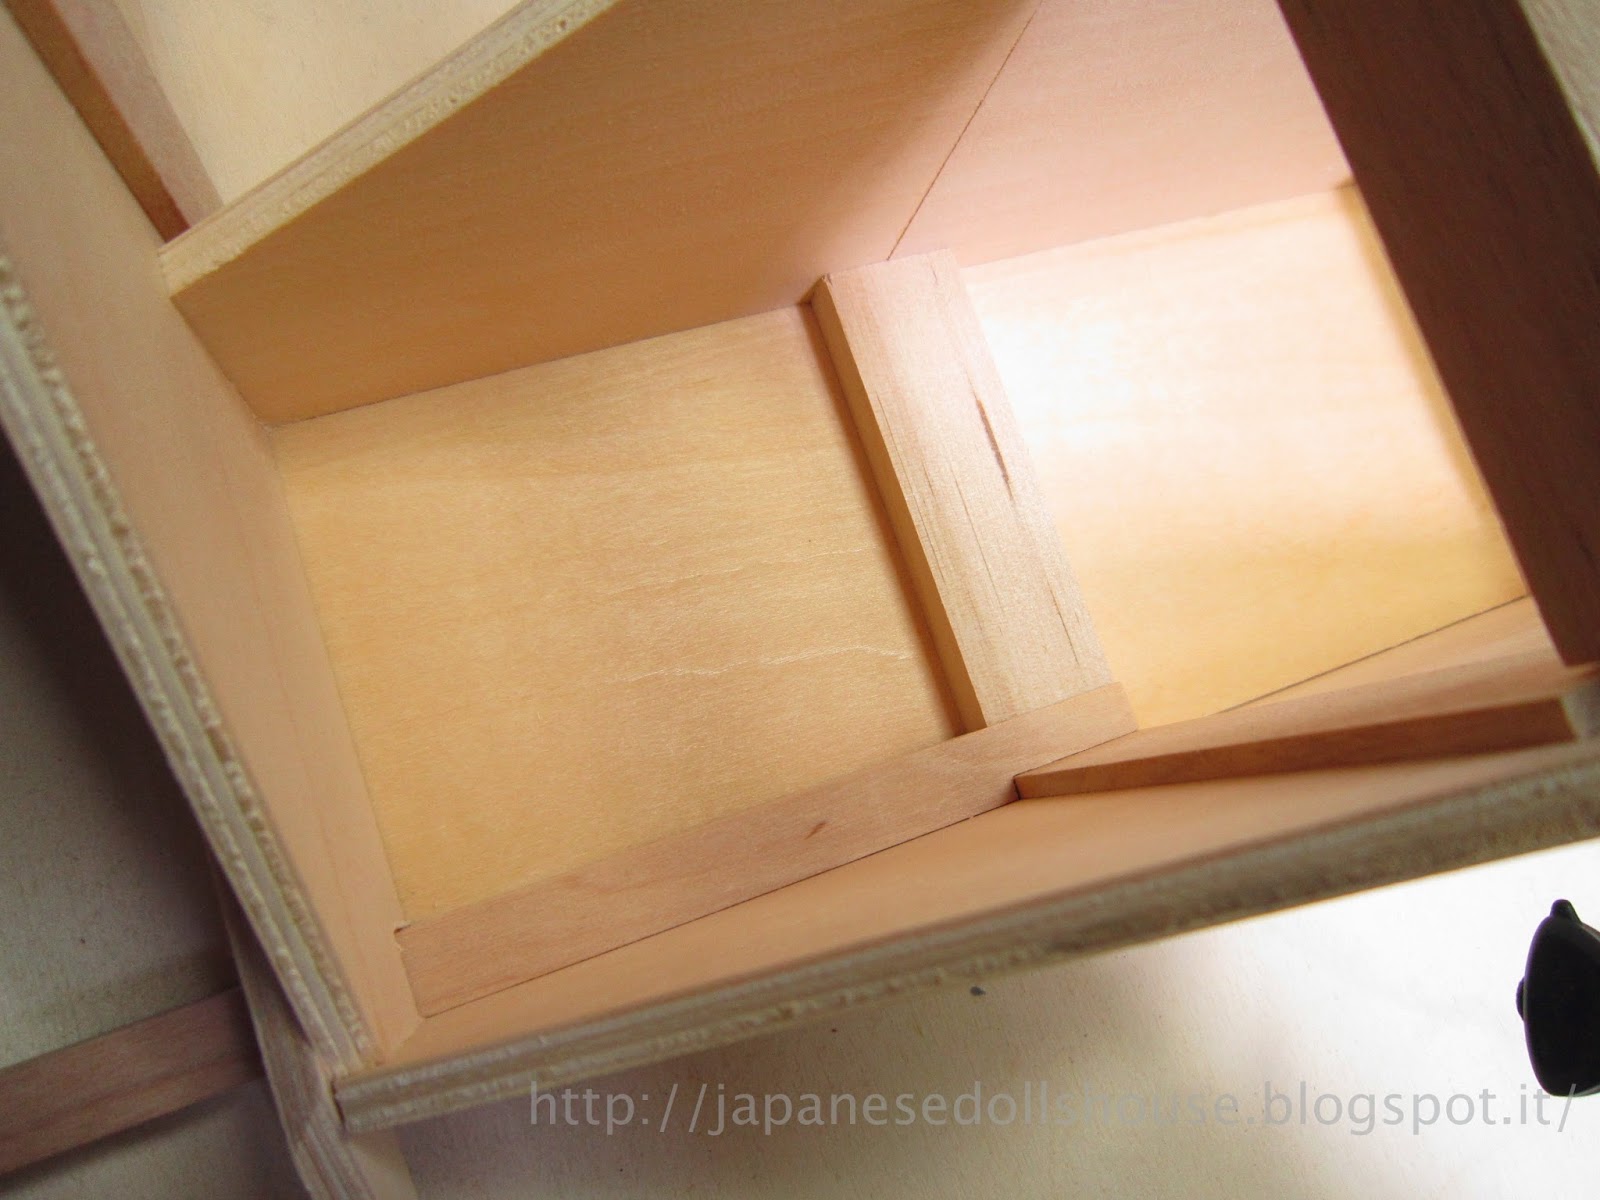 |
| Glued in place. This was a major support piece so it had to fit correctly. |
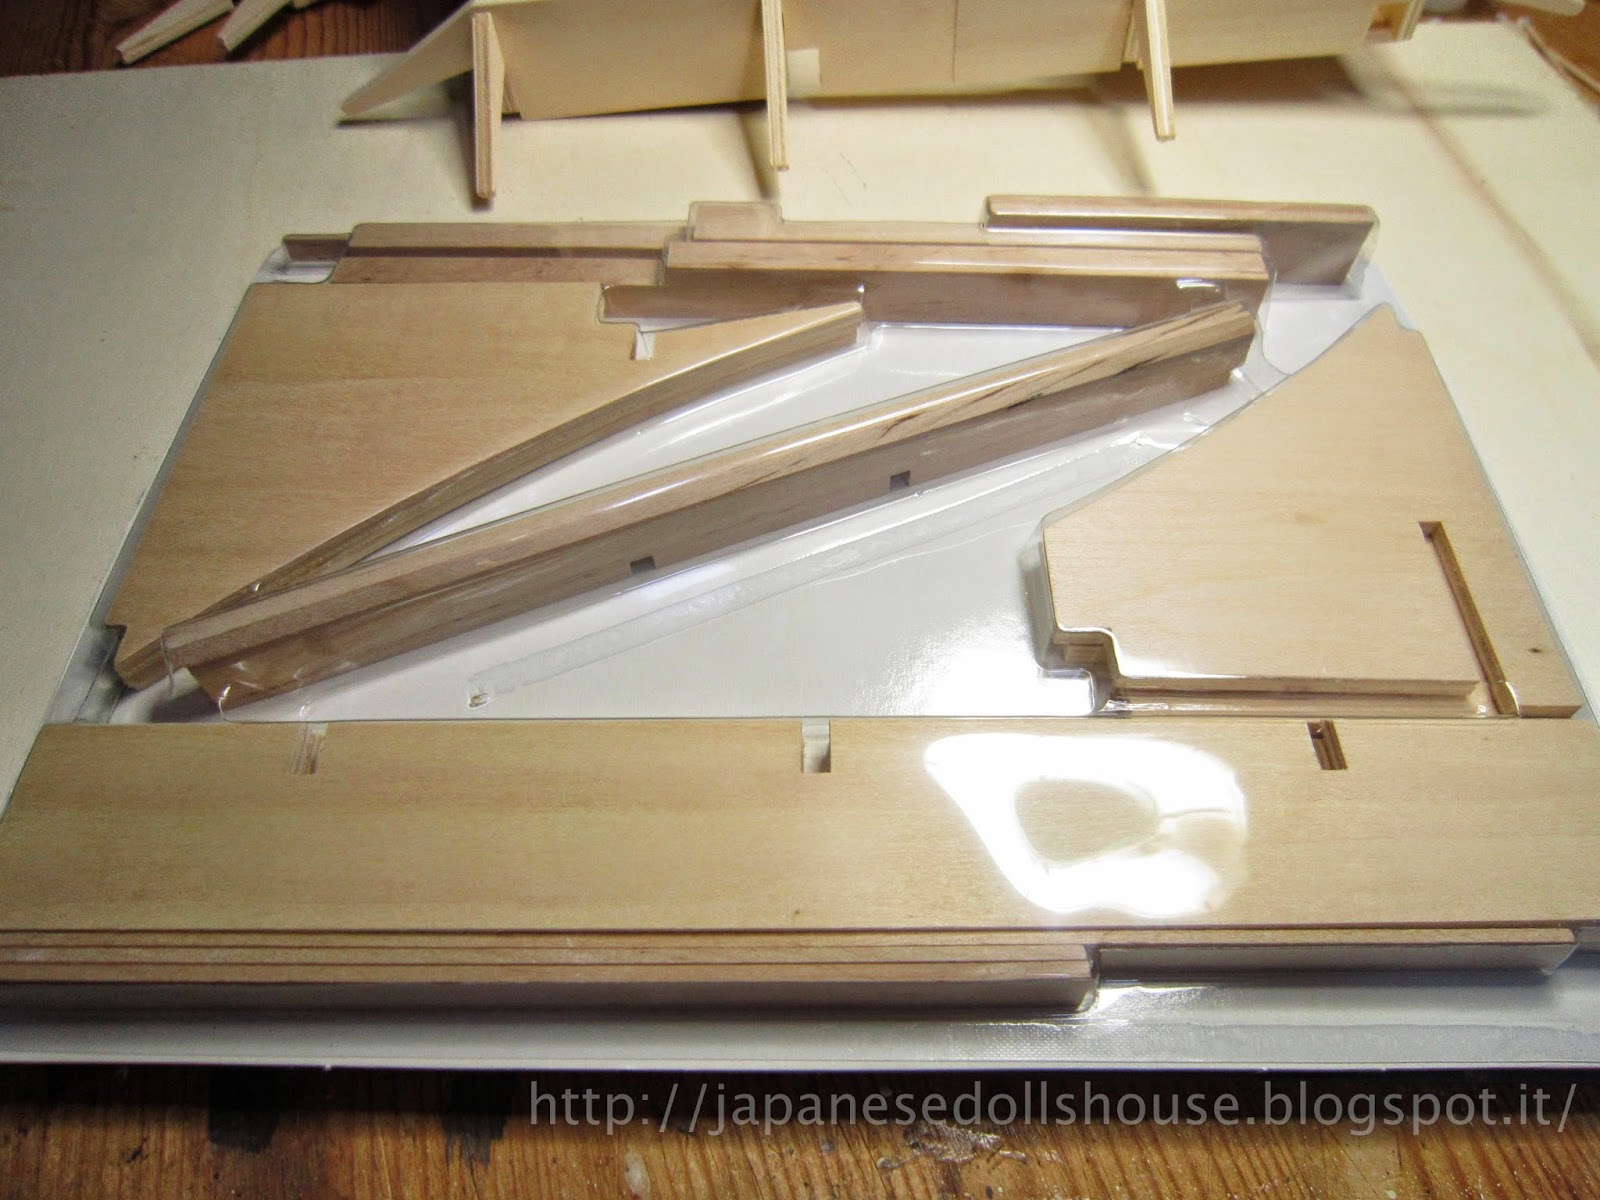
I then attached the two central wall pieces and the roof peaks. I did do a dry fit first to be sure they would slide in fairly easily and the did so glued them up in slotted them in. The last step was to add some decorative beams to the left roof base under what would eventually become the eaves. The kit had two more pieces to put together for the next chapter which would be putting together the right roof base - exact opposite to the left. So pretty much knew what needed to be done.
 |
| Adding the decoration |
 |
| Completed pieces Chapter 93 |
No comments:
Post a Comment