
August 21st - 22nd 2014
I glued together the roof peaks like the previous chapters and waited for the glue to set.
Then I painted two pieces that would show up on the roof and waited for those to dry. In the meantime, I read ahead a bit and saw that the construction was the same as the left side but with a slight difference. The kit had me attaching the pieces that were switched around now to the right side. Instead, I decided to finish the right side base first then fit the pieces that attach to the central support base. Just to be sure they would fit correctly. To do that, I had to combine these two chapters since the pieces were split between them. I put together the first section and sanded for around 20 minutes to get the slots a little more opened up. Painted what needed and then slid it into place no problem. The second section was a little more complicated as the peak piece just doesn’t match up properly at first look. In fact, I had glued this piece to it’s front wall base and then had to unglue and reglue again. It’s an odd puzzle fit so I was pretty frustrated then realized what I did wrong. But no harm, right?
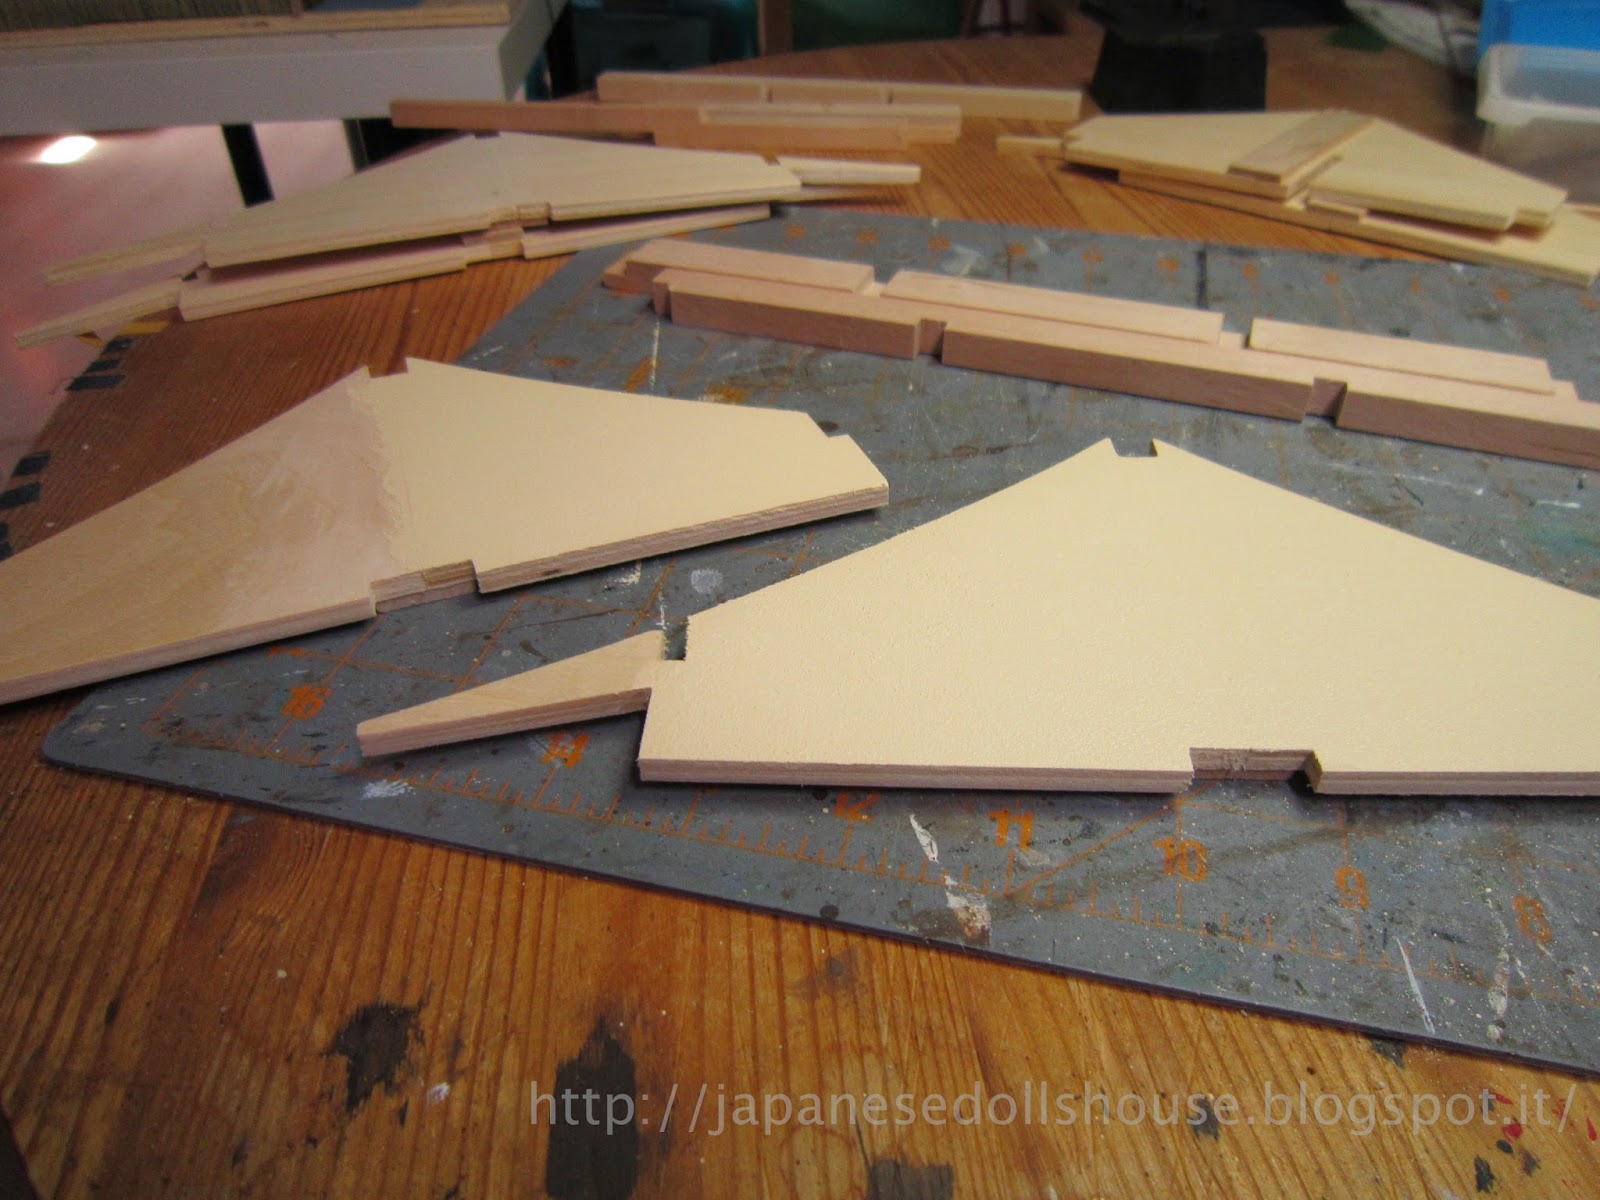 |
| Painting the areas that will be exposed. |
 |
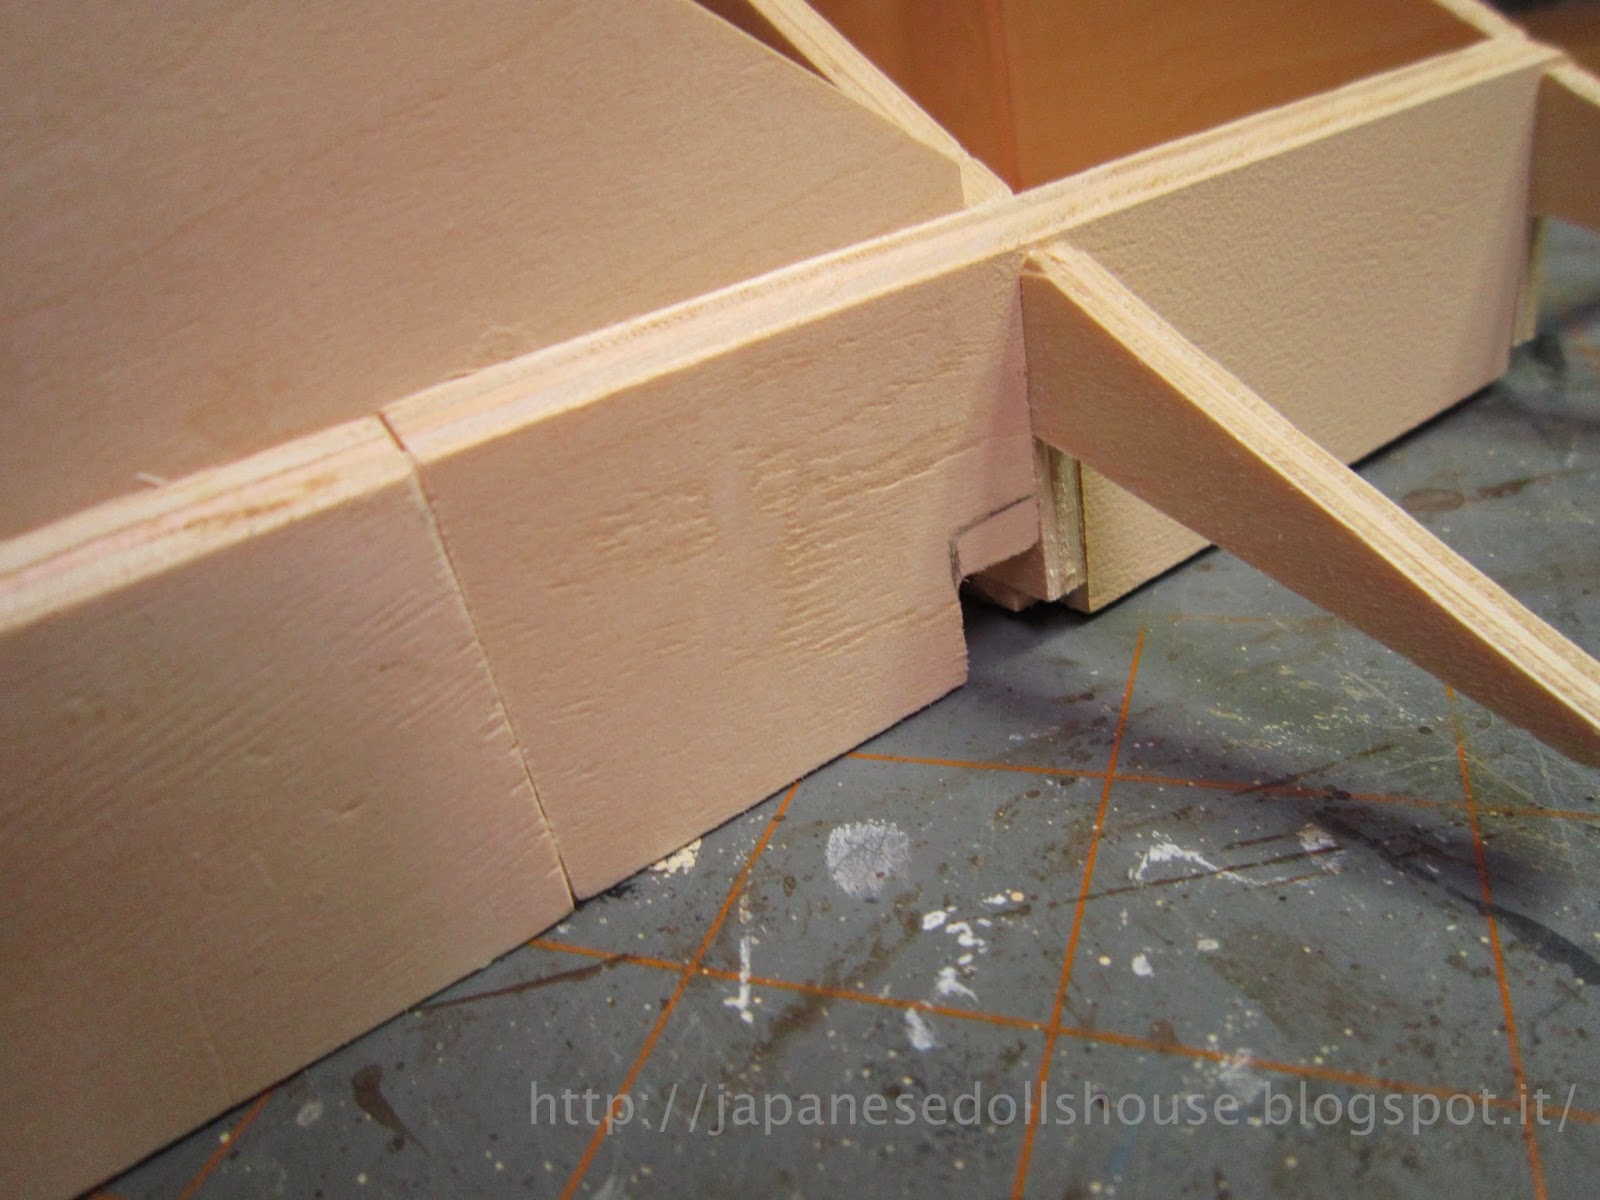
| Completion of Chapter 94 partial of the right side roof base. |
 |
| Inserting the external section of the right side roof base. |
I started to mount the pieces together but realized they weren’t fitting in at all. The front section had to fit in with about 2mm overlapping under (like last time) for the attic flooring. But it wasn’t working. I went back to the left roof base and did some measuring and low and behold, the pieces were not cut correctly. The slots for the support beams were short by about 5-7mm. That’s quite a bit! So I double checked my measurements and I was right. The reason for my odd fitting before was because in fact the slots were not matching up like last time. My brain probably realized there was something off then. But now the pieces were together so I had to break out my trusty jeweler’s saw and was able to cut into the side slots. I then chiseled out the excess wood, sanded it down and fit the pieces into the slots. I glued them down and left everything to dry for a bit. I did a bit of calculating and overall, I found three badly manufactured pieces or mistaken pieces (so far). But two of which are in the final chapters for the roof. That’s not bad for such a massive kit I must say. But maybe they were getting sloppy towards the end (hopefully not like me!!)
 |
| Marking out the area to be removed. |
 |
| Carving out the excess wood. |
 |
| Using my saw to cut the vertical slice and chisel out the rest. |
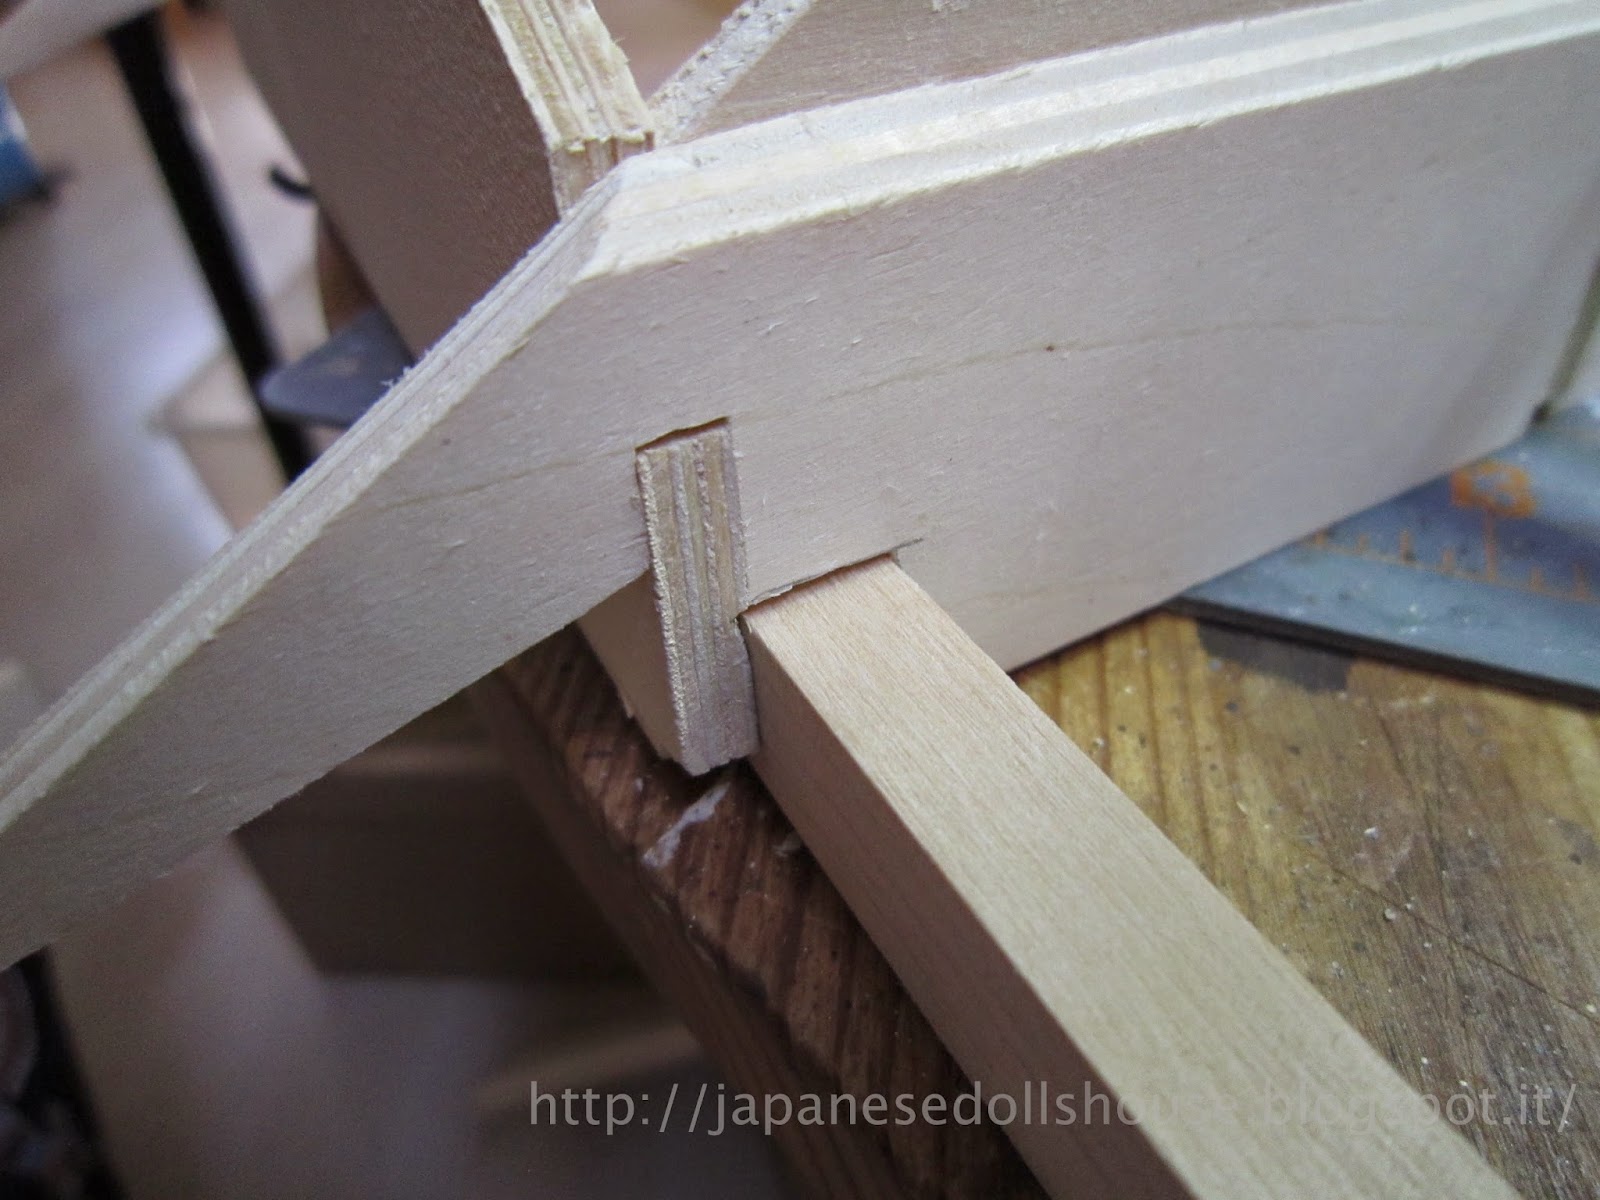 |
| Fitting the inferior beam section into the new slot. |
 |
| Completed roof base. |
Next up were the eaves framework. The corner pieces needed shaping and fitting. Then there were some long skinny pieces that needed fitting then gluing on the outside edges of the existing house roof frame. I had to do lots of sanding for the corner pieces and glued the framework on the outside. It looks pretty cool. I have no idea how fragile this will be eventually. Aaargh! But the frame work is getting damn heavy!!
 |
| The corner supports before shaping. |
 |
| Shaping the corner supports. |
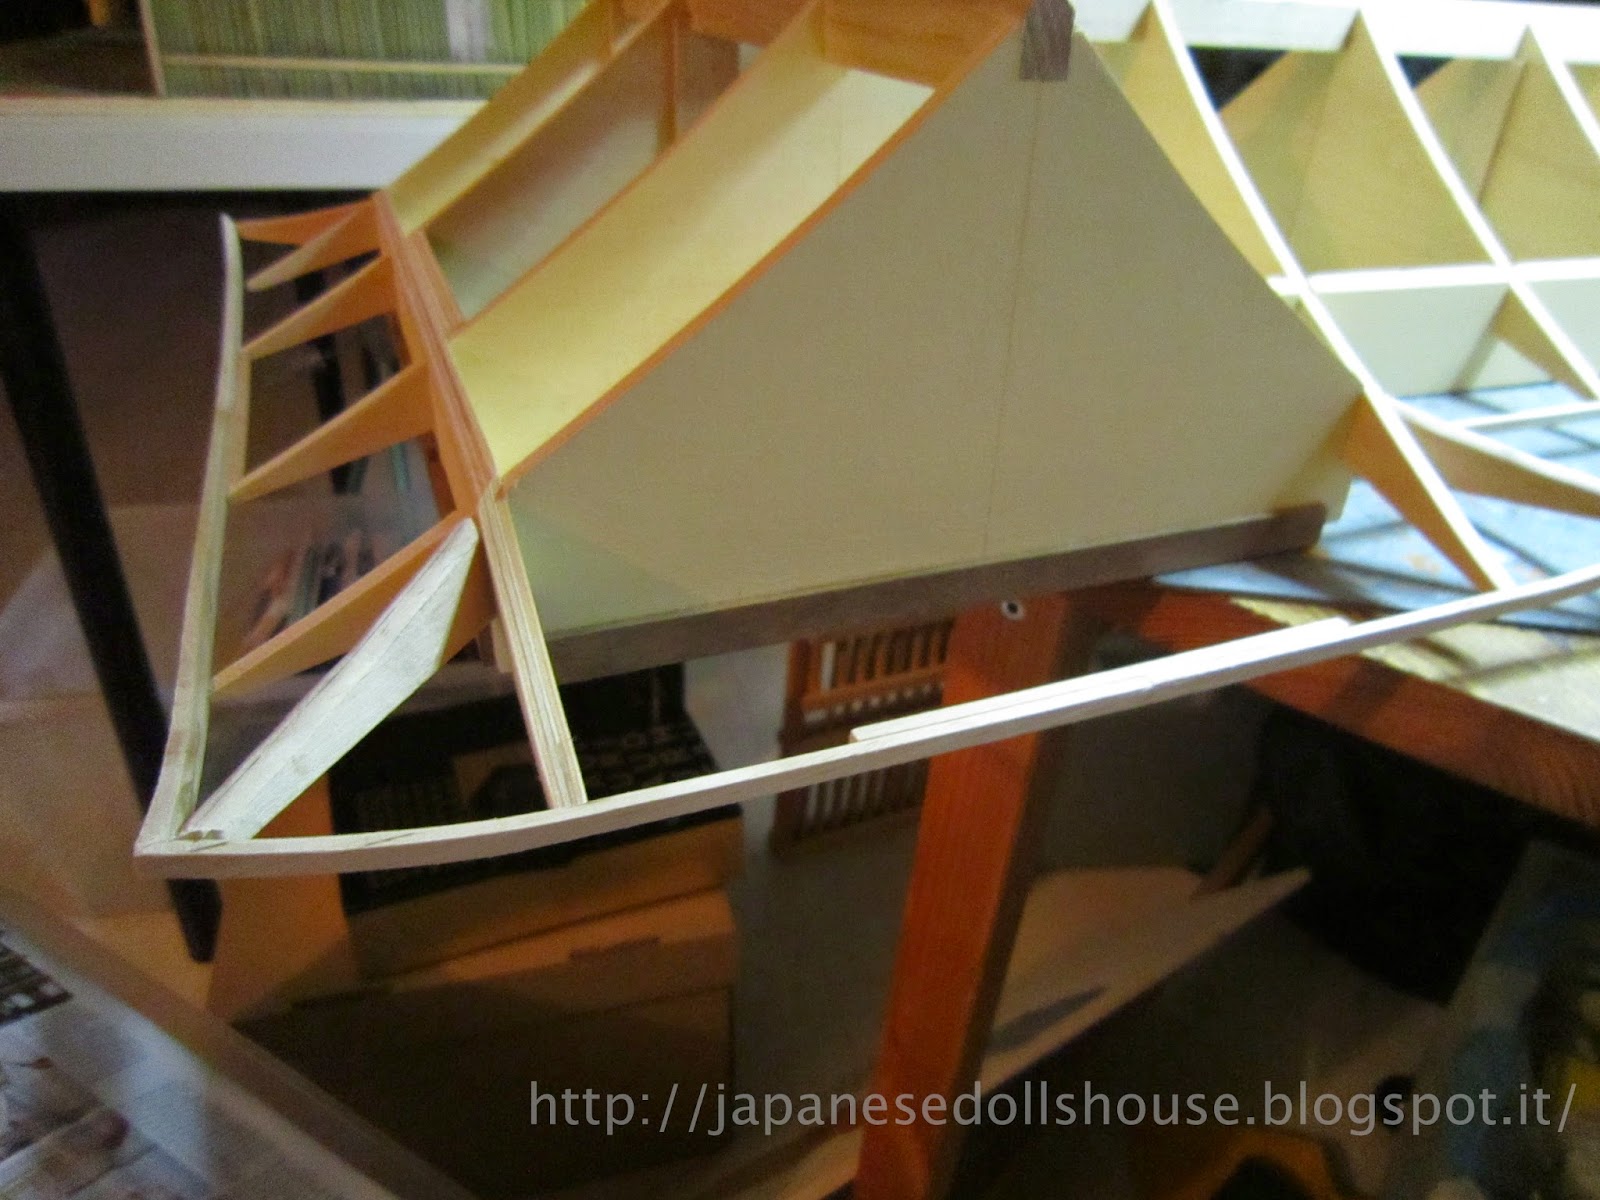 |
| Adding the eaves framework. |
 |
| Finished left side eaves framework. |

No comments:
Post a Comment