August 24th - 27th 2014
This chapter had me mounting the wooden details and corner covers for the underside of the eaves where the roof peaks and the eaves meet up. I decided to mount those first so I painted them and then glued them in place once they were dry. Two pieces were to be corner mounted on an inside corner so I had to paint the inside which I hadn’t done. I also found a section of a roof piece on the outside that was only half painted in the buttermilk beige. I don’t know how I mixed that one piece up with another - no biggie. I just painted the other half and then mounted the wooden decoration over it.
 |
| Corner and lateral decorations. |
Next up was more of the eaves framework. Also here lots of the junctures were a bit short but I looked ahead and the entire framework will be reenforced with more wood underneath. So I’m not panicking yet. I cut out a small square to insert between the two ends and complete the straight edge. Next was attachment of some other kind of framework. They were trapezoid shaped frames. It wasn’t very clear how to mount them so I just had to wing it. The last four pieces that attach to the front part of the roof frame had to be cut to size as there were the corner beams to take into consideration. I then let everything sit for a little since the next step would require some sanding and shaping and additional gluing.
 |
| Space that resulted after completing the eaves framework. |
 |
| Adding a little piece to fill the space. |
 |
| Weird trapezoid piece. |
 |
| Trimming to fit between the front beams. |
 |
| Inserting the trapezoid pieces |
 |
| Finished trapezoid pieces mounted. |
First I had to take stock of how off the framework was to the corner protuberances of the peaks. Some were pretty far off. So, I will have to adapt and glue and sand to make them match up. The kit also had me adjusting the corner pieces by shaving them back into a “V” shape - probably to be sure that the corner beams didn’t interfere with the placement of the lower board covering. But as I tested each one, I decided if they really needed shaving or not as since they were already mounted, there was no realistic way of shaving them down (not with the tools I had). But as each one presents itself, I’ll just figure out the best way to make the underside covering fit. In the meantime, I painted the outside framework.
 |
| Painted outside eaves framework. |
I had to cut each piece of lightweight laminate wood with 45° angles then fit them into each corner resting on the weird trapezoid pieces. Nearly all the angles had to be worked with since the corner angle pieces were sitting right on the beams and didn’t allow for insertion space. So, I just used my exacto knives and carved out a space above each corner piece, then was able to slide the super thin wood board covering. After matching them up and allowing them to dry, I then trimmed them off. I looked ahead and it seems that each of the junctures will be covered in another corner beam as well as perpendicular wooden embellishments like on the outside porch awnings. So matching each seam between the covering didn’t seem to be an issue right now. At least I am hoping....
 |
| Cutting the 45°angle on the board insertions. |
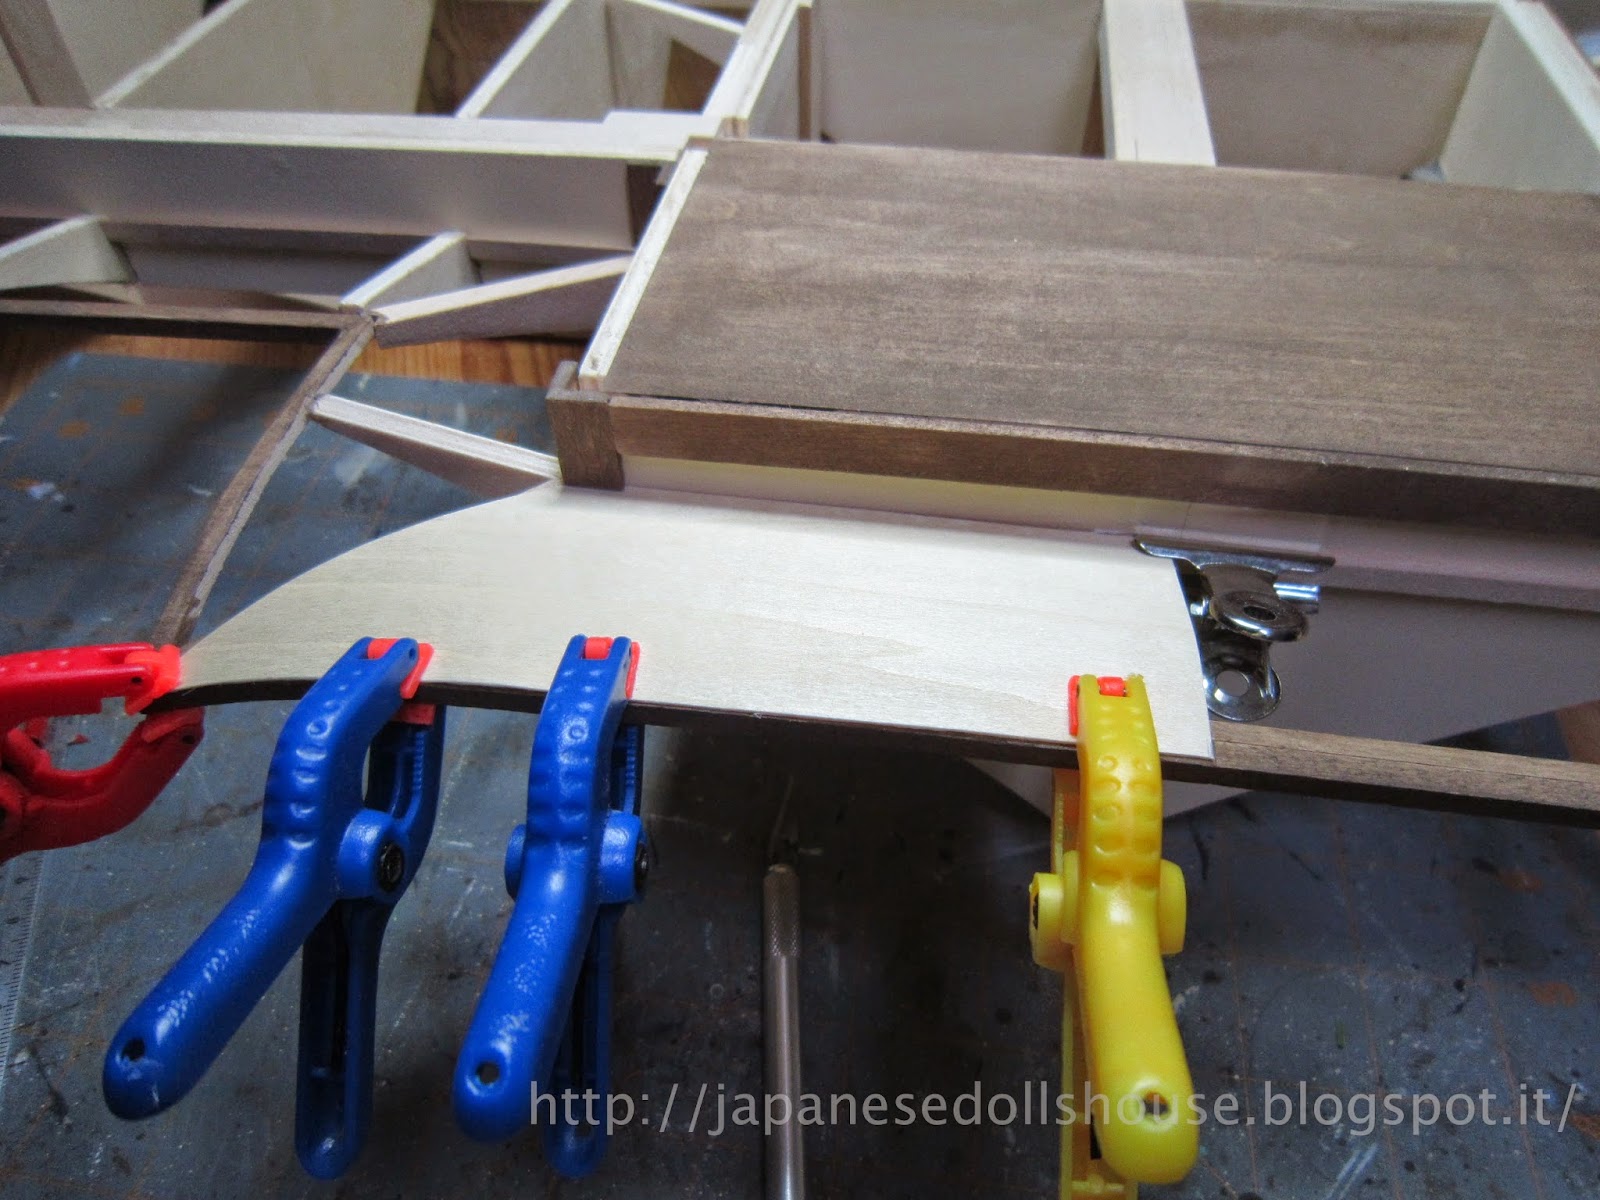 |
| Adding the board to the underside of the eaves. |
 |
| Areas to be trimmed after gluing. |
 |
| Finished front of the underside eaves. |

No comments:
Post a Comment