August 28th - 3rd September 2014
The first thing was to sand down the usual imperfections and then paint the beam pieces and embellishments brown. I then attached the two remaining long pieces and two short pieces to the front and back.
 |
| Adding the two long decorative woodwork. |
Next was adding the remaining wooden covering on the underside. This took a while since I had to cut each to size, then glue while straightening the external framework. I sanded some of the peak tips to accommodate where needed. I also had to refit the space that had developed in the eaves framework as it got bigger (somehow) but that wasn’t the biggest problem. I had mistakenly cut one of the covering pieces a cm short (distraction! I had a gecko running around in my attic and I was chasing mosquitoes too - they bite me while I work!) so now I had to be extra careful not to ruin the last three pieces of covering. I ended up having to attach a smaller piece which would float in the middle but still covered the entire underside. Once that was done, I just had to turn the whole thing over and trim the edges like last time. So again, I had to wait till glue was dry.
Once I turned it over, I trimmed the edges and then sanded them down a
bit to clean them up. I then did some retouching with the brown paint
to cover any gouges.
 |
| Finished eaves (gutter) covering. |
Next up were some small square pieces (14 total) that needed to be inserted between the lower beam decoration and the underside framework covering. Each one had to be fit to size. I also decided to cover each of the underside junctions with masking tape (it looked cleaner) also because I had 1/4” masking tape that would work perfectly. In an upcoming chapter, the underside will have more beam decorations so it made sense. I omitted the corners because there were larger beam pieces there that really made the masking tape unnecessary.
 |
| Small middle decorations (14 total) and masking tape. |
Once that was done, I began attaching the corner beams. Obviously they did not lay as flat to the corners as I would have liked but that was ok as I could sand down the beams a bit and using clamps get them to lie flat against the wooden covering. Overall they covered enough. I then flipped the roof over and touched up more of the external woodwork and painted the tips of the beams white.
 |
| Adding the corner beams. |
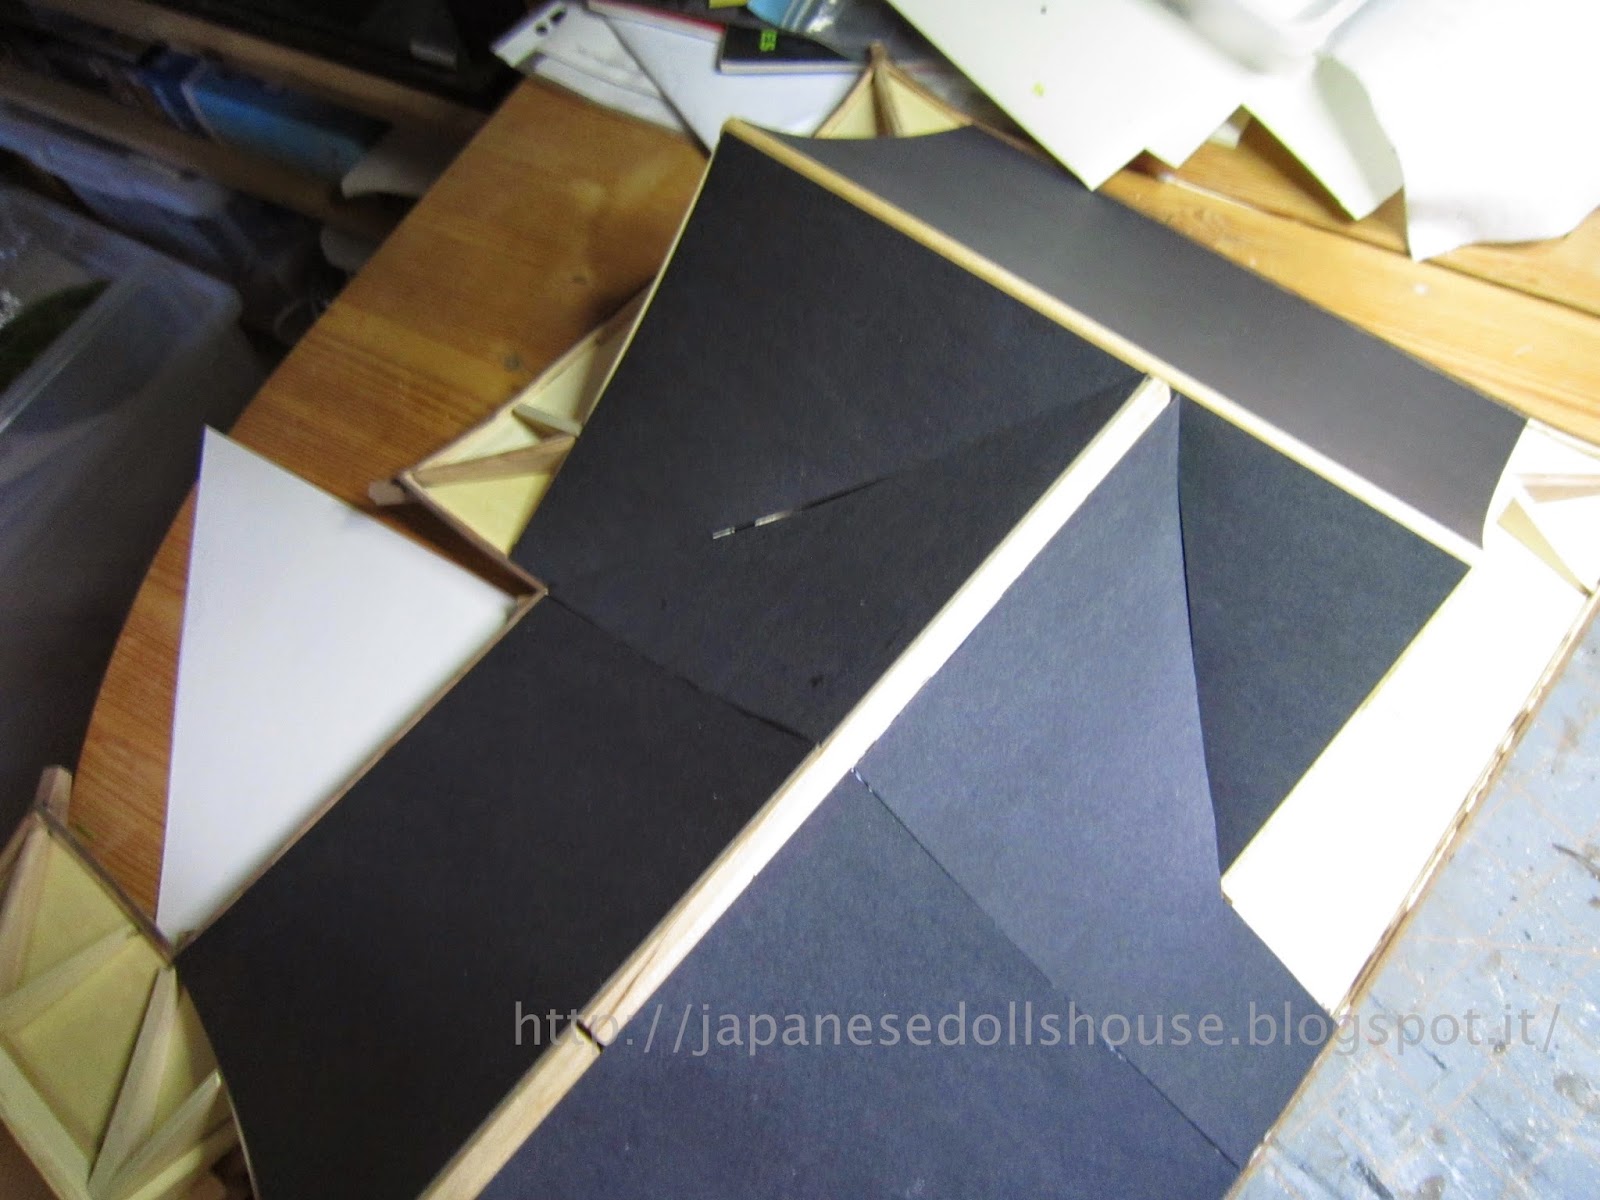
Next was starting on the roof covering which is made of heavy black paper. First I had four support sections which fit between the front of the roof peaks. These would serve as a superior edge for glueing the roof covering and tiles. Once fixed, I started to measure and mount the roof covering. The kit gave me three standard pieces that would be used to cut out all the fitted pieces. I found that the paper was so rigid that it was easier to make some paper templates which not only would fit the angles better but fit into the curve of the roof peaks and gutters as well. Not only that, by making one, all I had to do was flip over the template and it would suffice later for the other half of the roof.
 |
| Adding the support sections. |
 |
| Beginning installation of the black paper covering. |
 |
| Making a template. |
 |
| Another template section. |
 |
| Fitting the cut pieces. |
The roof covering in fact would be the eventual support for the tiles. Even so, I wanted the covering to be as closely fitted as possible otherwise I’d have to cover the underlying wooden framework with tiles instead of paper. This took quite a few days overall. The templates did shorten the fitting time somewhat but each section needed to fit at various points and, most importantly, the gutter framework. That meant I had to coax it into the slot in some places. I also had to cut into the extra inserted piece of wood on the gutter frame to create the slot which would accommodate the covering. I then sanded that down and repainted it.
 |
| Making the added piece slotted and sanding it down. |
After all of that, I made a template for the angles and did those in around an hour in the afternoon (although it was a bit longer - I had an allergy issue and sneezed around 50 times while trying to work - frustrating!). And with that, this chapter is complete. I can’t believe I still have 20 more chapters to do. That’s a lot of tiling....
 |
| Corner pieces fitted. |
 |
| Finished roof covering, beams and eaves framework. |

No comments:
Post a Comment