September 8th - 14th 2014
Again I put aside the lantern pieces as I am waiting till I have all of them to paint at the same time. I thought there were only four but actually there are six so the next chapter I will be making some lanterns finally.
Next was working again on more eave decorating - cutting up the 10 strips into 55mm pieces to be placed 18mm apart. As I worked on gluing these pieces on, I realized that it would have been smarter to apply these pieces before putting on the black paper roof covering simply because the underside wood was so thin and flexible, it didn’t allow some of the strips to lie flat against it. I used little clamps but with the black paper on the other side interfered with trying to flatten out the sticks onto the underside of the eaves. There was really not much I could do at this point. So since this would be the back underside of the roof (so far the most obvious gaps were there) I’d just have to be happy with the way it looked.
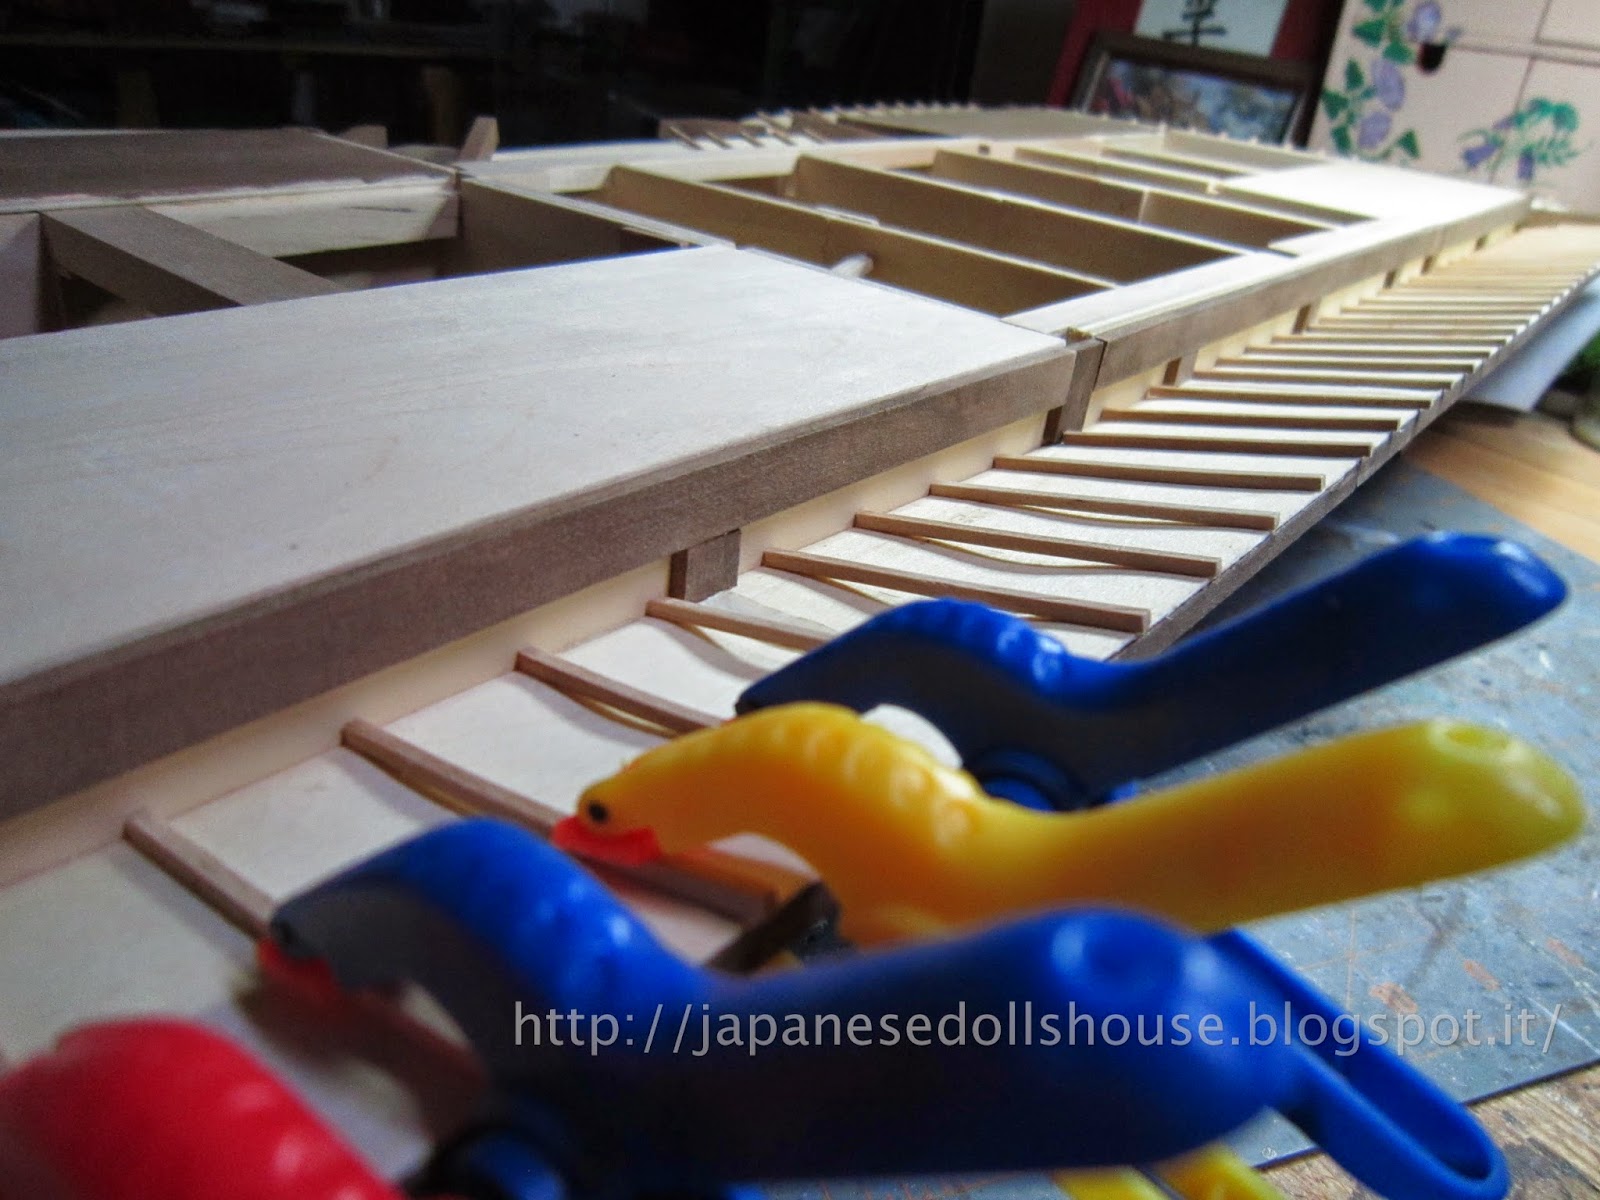 |
| The bowing of the underside of the eaves. |
I proceeded in attaching all the little strips just as I had done last time. I then sanded down the lengths that seemed to overlap the lip too much and sanded the rough edges with the tiny file. Then, again, I painted the tips with a bit of white paint. The only thing left to do on the underside of the eaves is cut to fit the final strips to the corner pieces. But that is in another chapter further along.
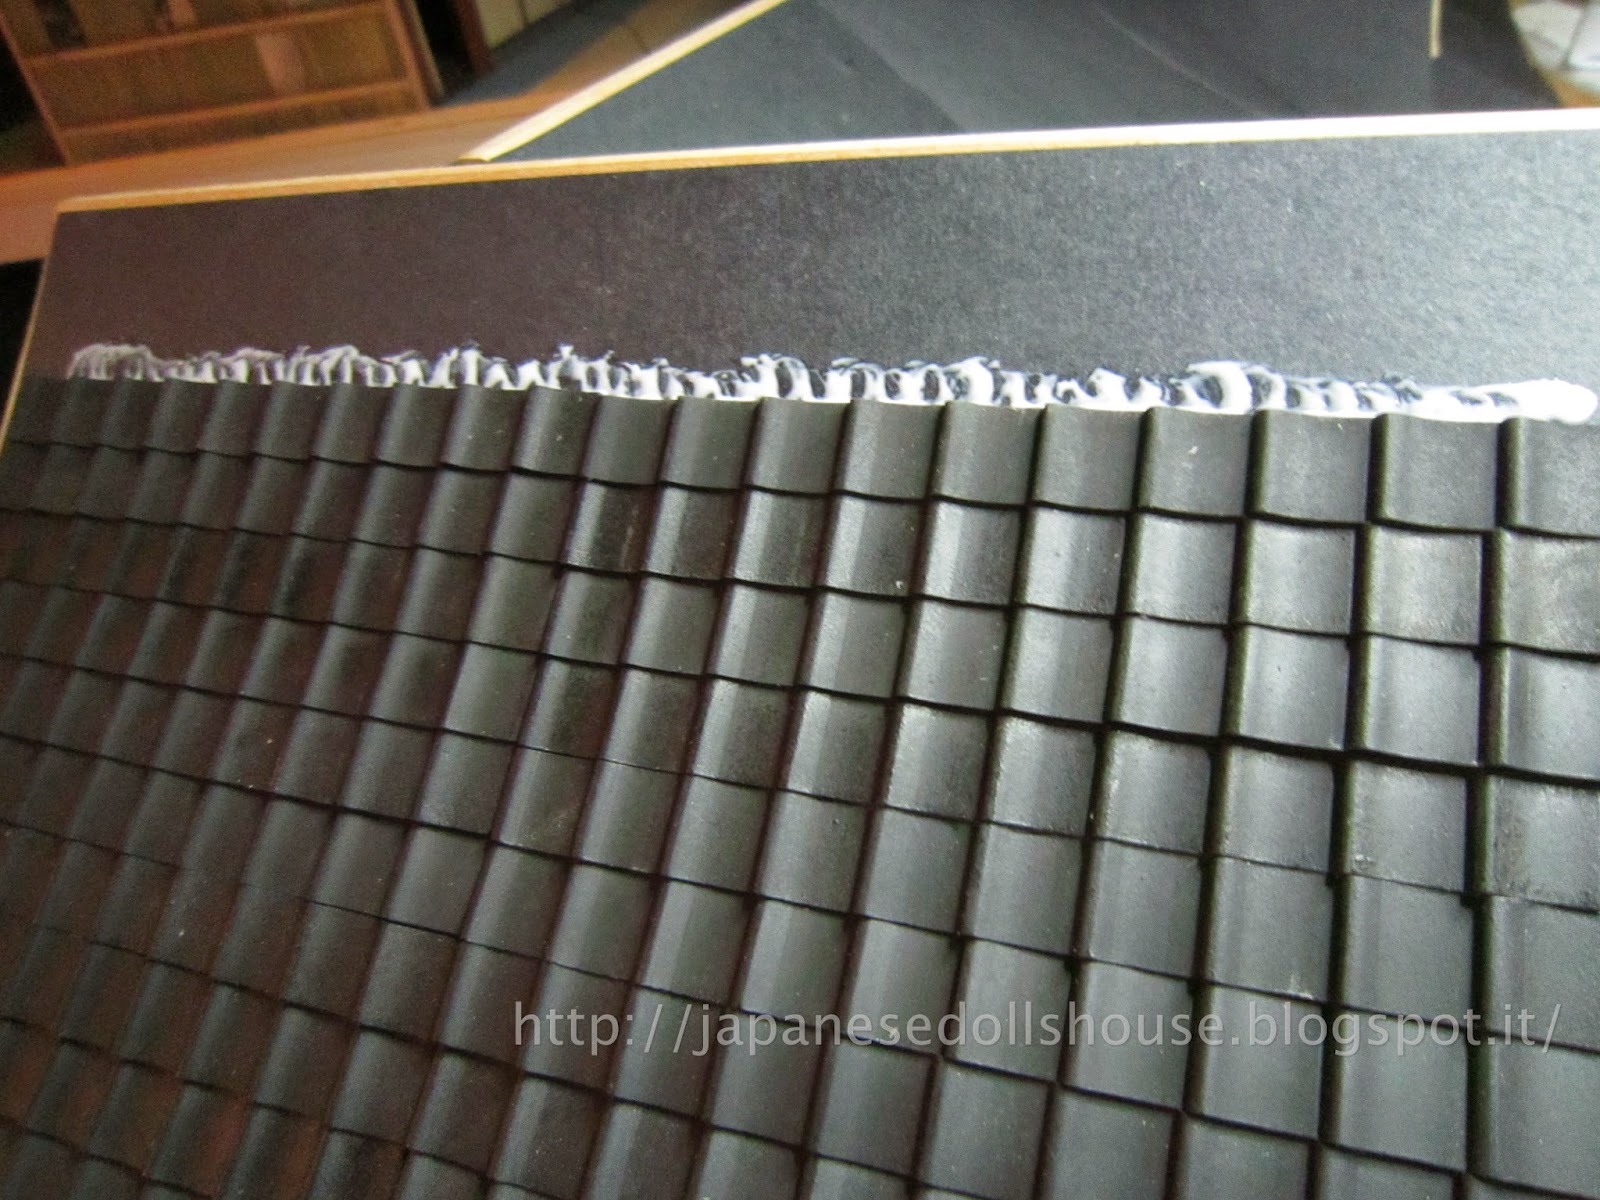
Next up was back to the tiling.
 |
| Adding more strips and painting the tips white. |
I tiled only as per the instructions even if the top row didn’t reach the top part of the black paper (as per the instructions). Since they mentioned there would be extra tiles in the kit later, instead of risking improper coverage, I left the last four tiles to be mounted on the opposite roof side. I also imagined that there would be fitting of the top edge so, instead of gluing the final row of tiles now, I’d leave this row to be adjusted and fitted in the final stages. I did have to sand down one of the pieces to straighten out the last row somewhat. It sanded down easily even if it made quite a bit of dust. I may have to wear a mask or something as even the kit warns agains inhaling the dust.
 |
| Gluing the rows on the left roof peak. |
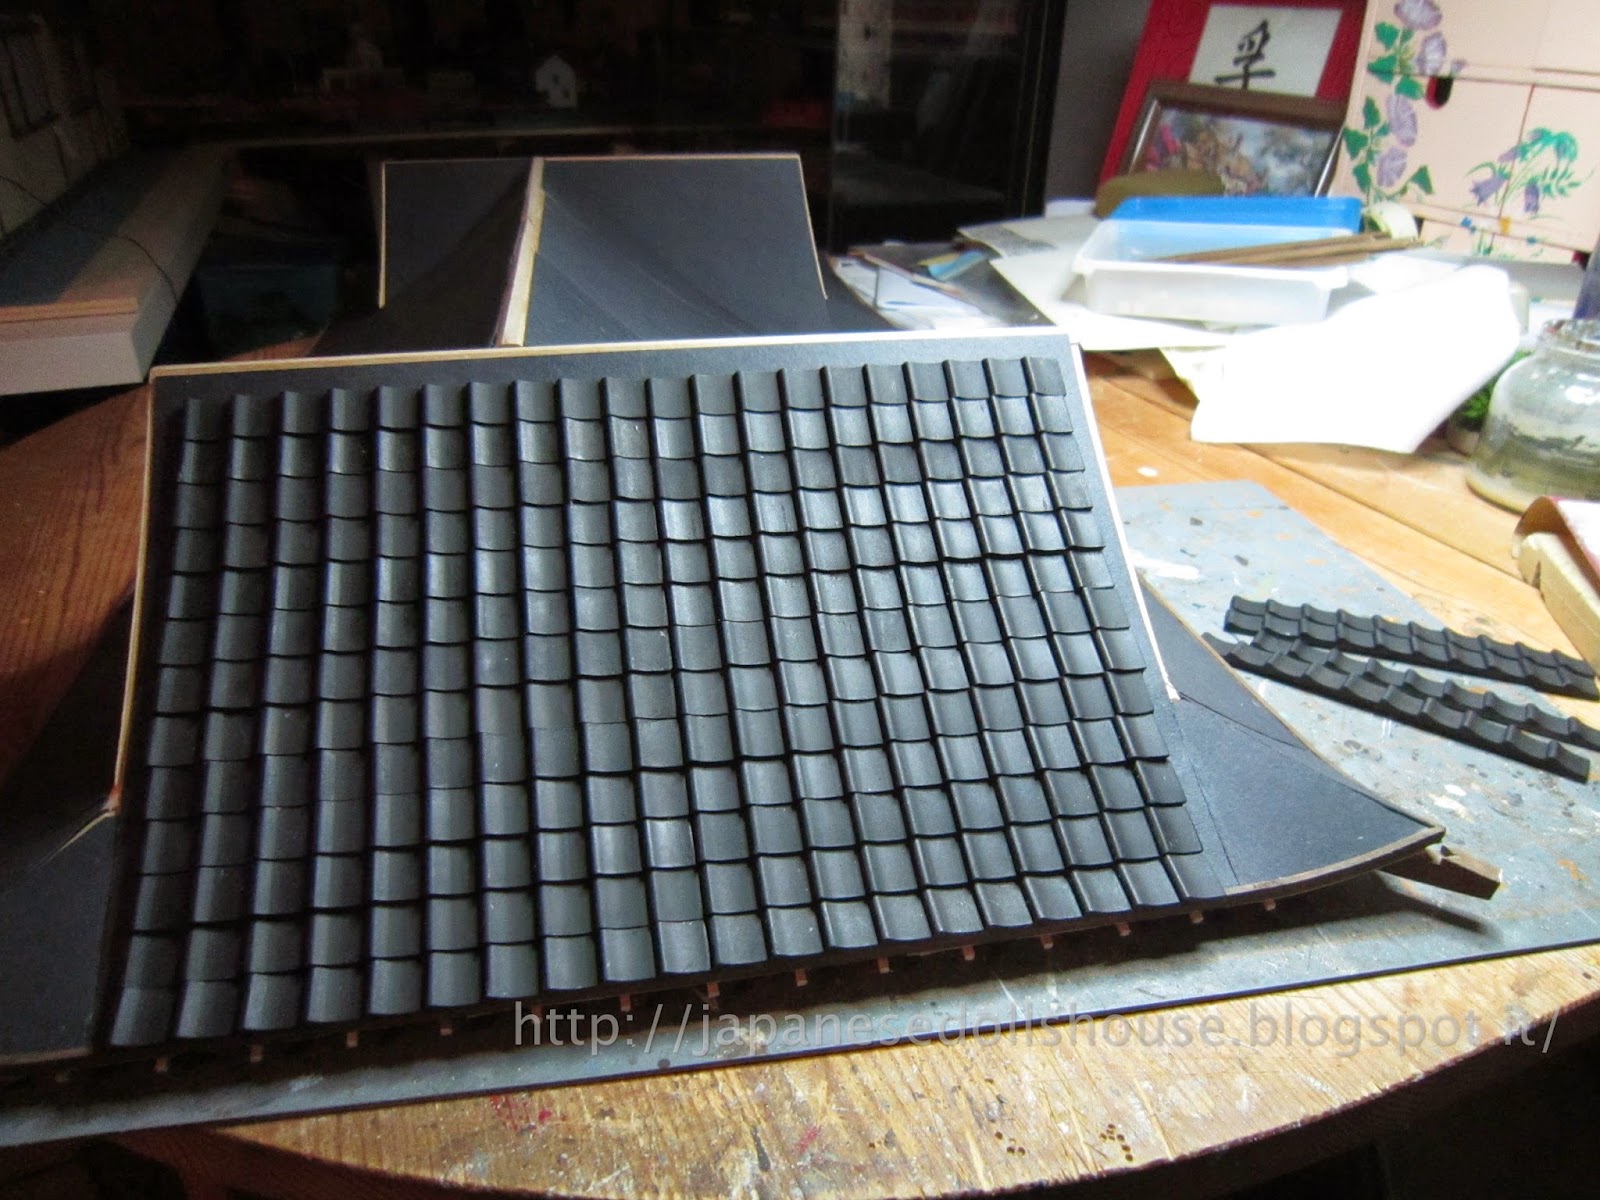 |
| Just the last few rows will be fitted later. |
Last step in this chapter was gluing in the four tile pieces onto the right side peak. Done and onto the next chapter.
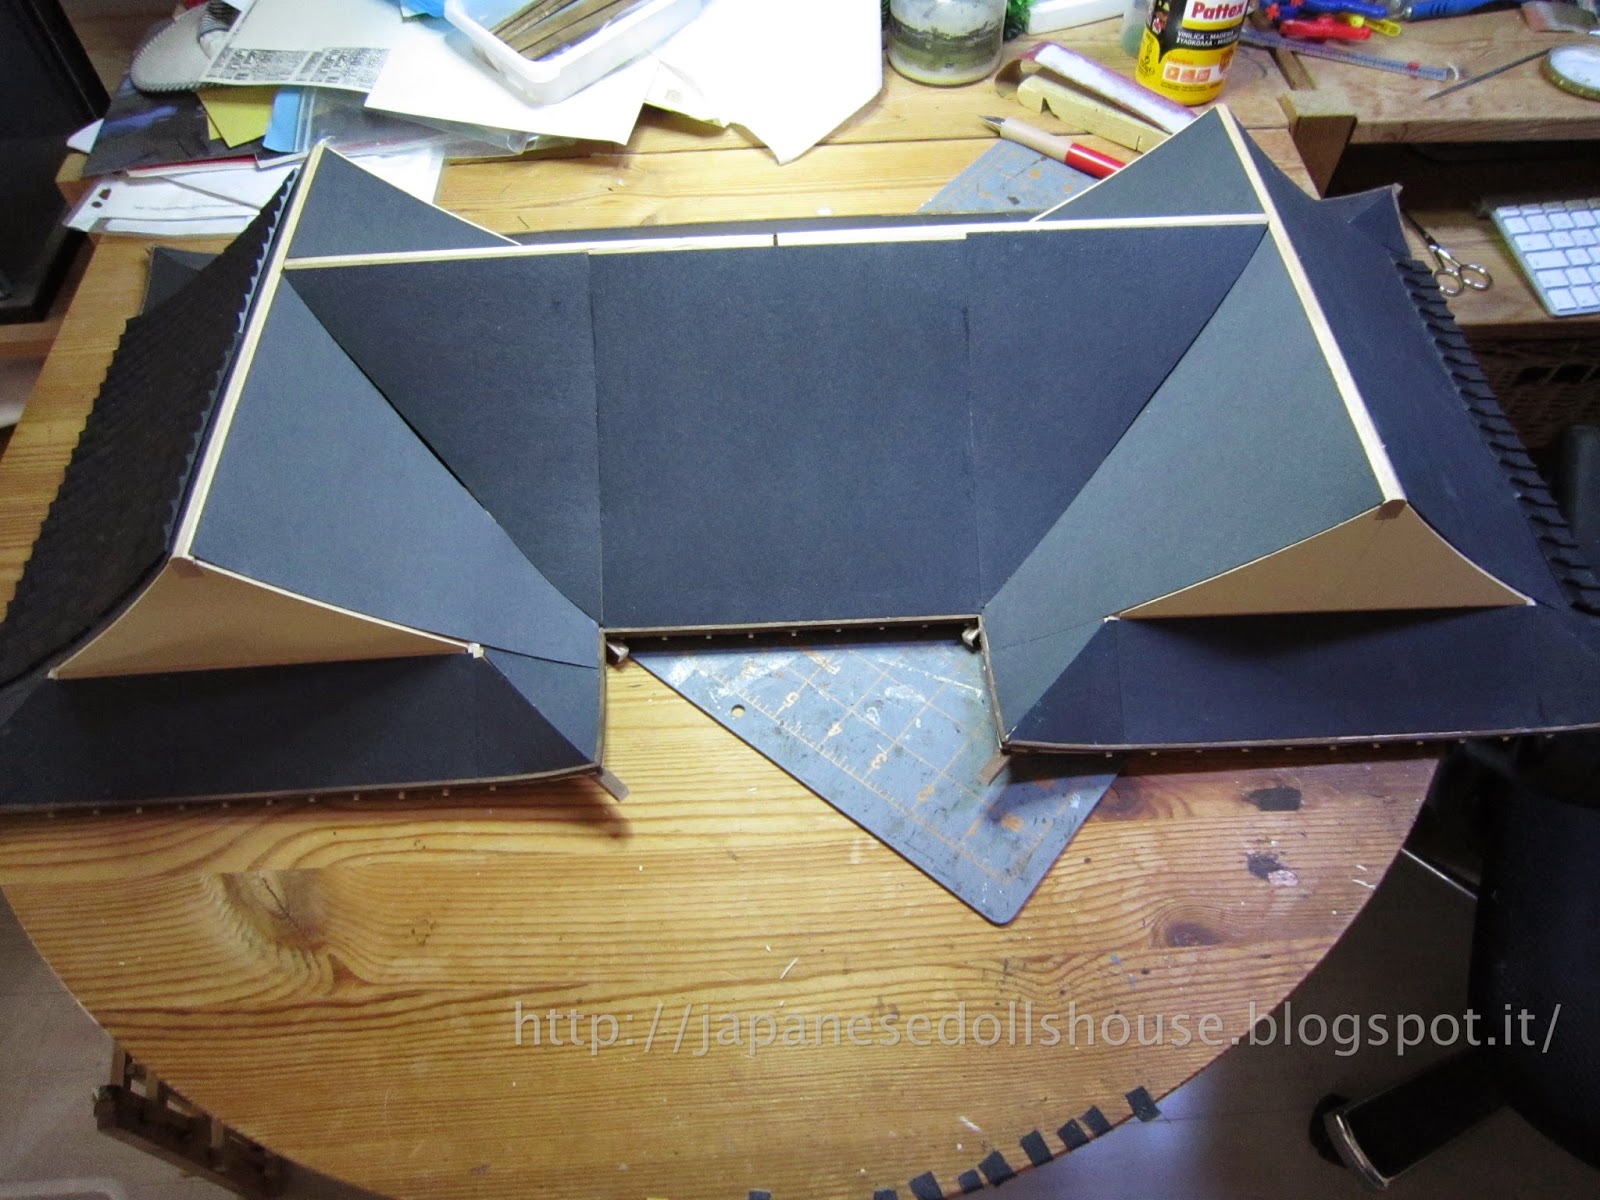 |
| Left side tiles in place. Starting on the right side tiles. |

No comments:
Post a Comment